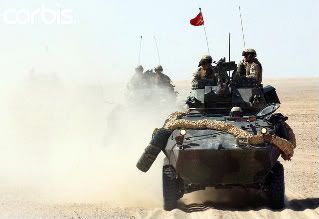
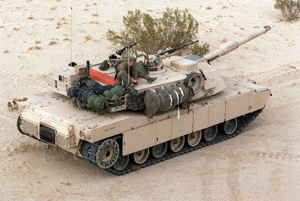
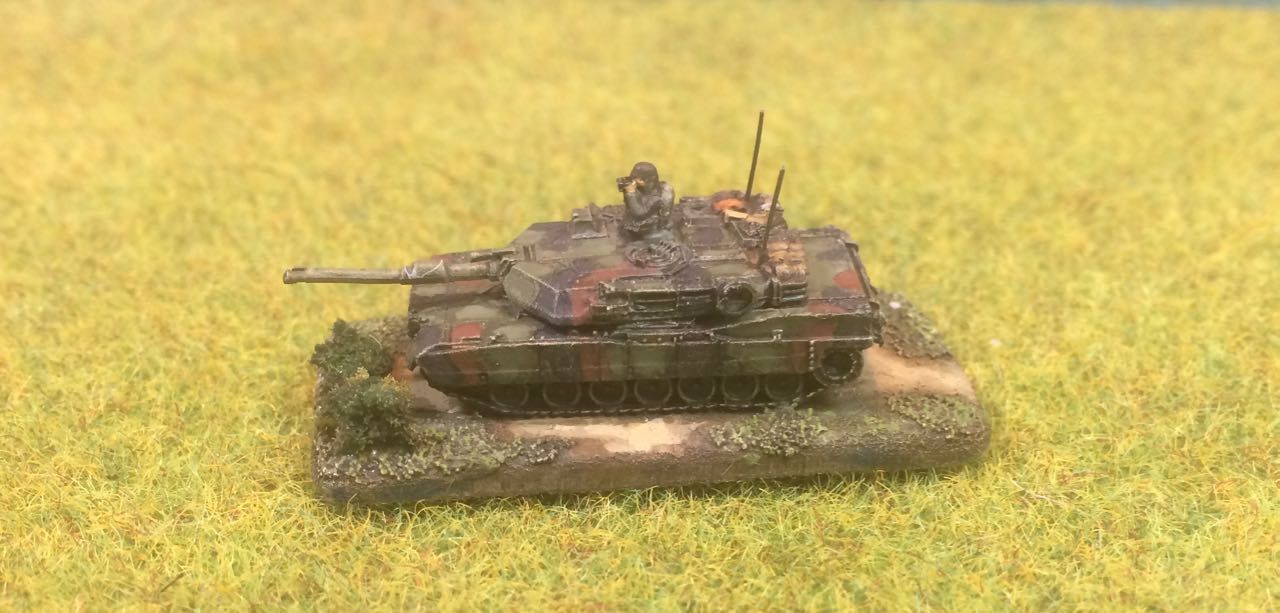
Welcome to Dragon Rising, Bear Resurgent , a blog I am using to record my Post Cold War wargaming projects. These are focused on expeditionary operations by Chinese, Russian, American and NATO forces in the post Cold War era, modelled and gamed in 20mm & 6mm. The blog includes links to various resources useful to the 21st Centuary Cold War Gamer.

Monday, 1 October 2018

ORBAT - USMC MAGTF


The purpose of this post was really to understand how the MAGTF concept worked at the high level and the overall forces that would be drawn from to bring that capability together before examining in detail the structure and composition of a Marine Expeditionary Unit in a later post.  The post looks at:
  • The MAGTF concept including the air and ground units that supply combat elements
  • Sealift and Naval support 
  • Aspects of the operational challenge in the Pacific
  • High level view of model scale and availability for Gaming


MAGTF Concept. The United States Marine Corps organises for Combat into Marine Air Ground Task Forces (MAGTF). whilst the MAGTF is built around USMC components and can stretch from a Platoon to a Joint USMC/Army Force or a Coalition force essentially it is described at three different organisational levels:
  • Marine Expeditionary Unit where a Marine Rifle Battalion is the lead component of a task organised combined arms Battalion Landing Team that forms the core
  • Marine Expeditionary Brigade where a Marine Rifle Regiment is the lead component of a task organised  combined arms Brigade Landing Team that forms the core 
  • Marine Expeditionary Force where a Marine Division is the lead component of a task organised joint combined arms or coalition ground force that forms the core.
Task organised Combined Arms forces include attached elements to the core units from other arms such as Armour, Armoured Recce, Combat Engineer, Artillery, and Assault amphibian.  Joint forces include other Services such as an Army Stryker Brigade, Coalition Forces include elements of allied nations forces.

MAGTFs are task organised from components held within the Marine division and Marine Air Wings, whilst these can vary, generally they comprise:
  • Marine Division
  • Marine Air Wing

Regardless of the unit or formation it is based on the MAGTF is an integrated expeditionary combined arms force and is formed of four task organised force components.
The MAGTFs Components fulfil the following functions:

Command Element. Is the MAGTFs HQ it organises a holistic battle involving the integration of all three components to achieve the mission aim. It will plan and execute missions based  on the USMCs doctrine which is essentially manouverist and will therefore tend to focus on the destruction of the enemy rather than taking and holding ground.


Ground Combat Element.  Is a task organised force that provides the capability to undertake Ground combined arms manoeuvre. It works as an integrated component of the MAGTF not a separate entity. It covers amphibious, offensive, defensive and stabilisation operations. Its key capabilities are:
  • Ground and Amphibious Reconnaissance, 
  • Combined Arms Ground Manoeuvre and security
  • Massed Firepower
  • Close Combat
  • Seizing and Holding Key Terrain

Aviation Combat Element. Provides all 6 functions of USMC Aviation and varies in size from an aircraft detachment to multiple Marine Air Wings.  It works as an integrated component of the MAGTF. The 6 Functions provided are:
  • Offensive Air Support
  • Anti Air Warfare
  • Assault Support
  • Air Reconnaissance
  • Electronic Warfare
  • Control of Aircraft and Missiles


Logistic Combat Element.  Provides the Combat Service Support Function it can vary in size from a platoon to multiple logistic groups and covers;
  • Supply 
  • Maintenance, 
  • Transportation, 
  • General engineering, 
  • Health services 


The MAGTF strikes me as one of the most tightly coupled joint forces in existence, with dedicated land and Air components in a single unified command, that the level of task organisation and the potential to model a variety of Naval assets is what really grabs my imagination.  

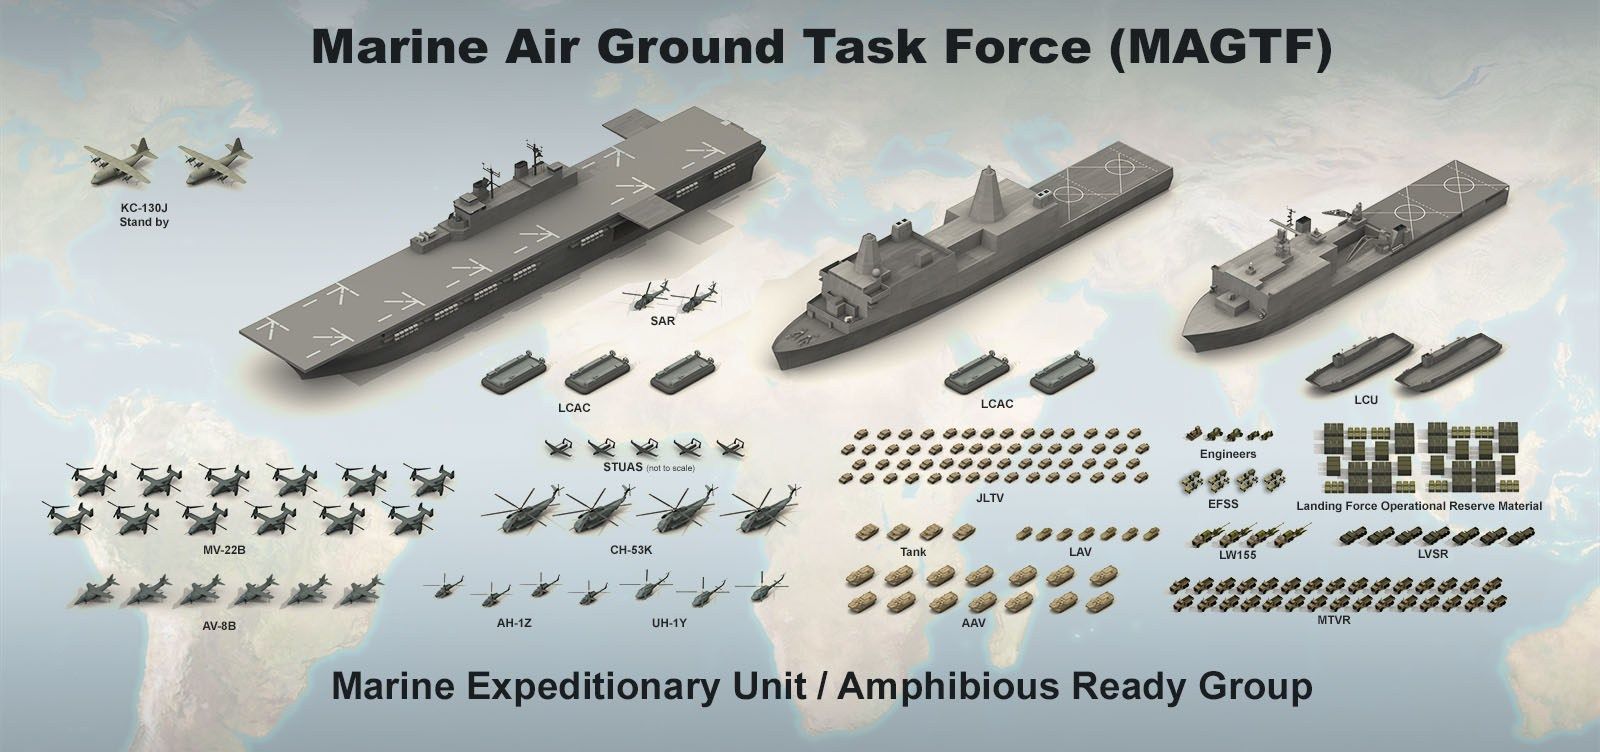
Sealift and Naval Support.   The Sea lift and Naval support assets provide a degree of context during the game and selected elements of the Naval engagement could be played out. Like air landing operations these need to be controlled if the main event is to happen.  Although there are a variety of deployment options with varying components of sea lift I am primarily interested in over the beach operations. At the battalion level the Sea Lift component of this is an Amphibious Ready Group comprising:
  • An Amphibious Assault Ship LHA/LHD
  • An Amphibious Transport Dock LPD
  • A Dock Landing Ship LSD
  • Its embarked MEU


This can be task organised with a Surface Action Group and or a Littoral Combat Group to form an Expeditionary Strike Group which in turn can work under an umbrella provided by a Carrier strike group.  When working in conjunction with a Carrier Strike Group you would expect that a greater component of the MAGTFs embarked air assets could focus on the ground mission whilst the CSG focuses on the Air Superiority and Force protection aspects.


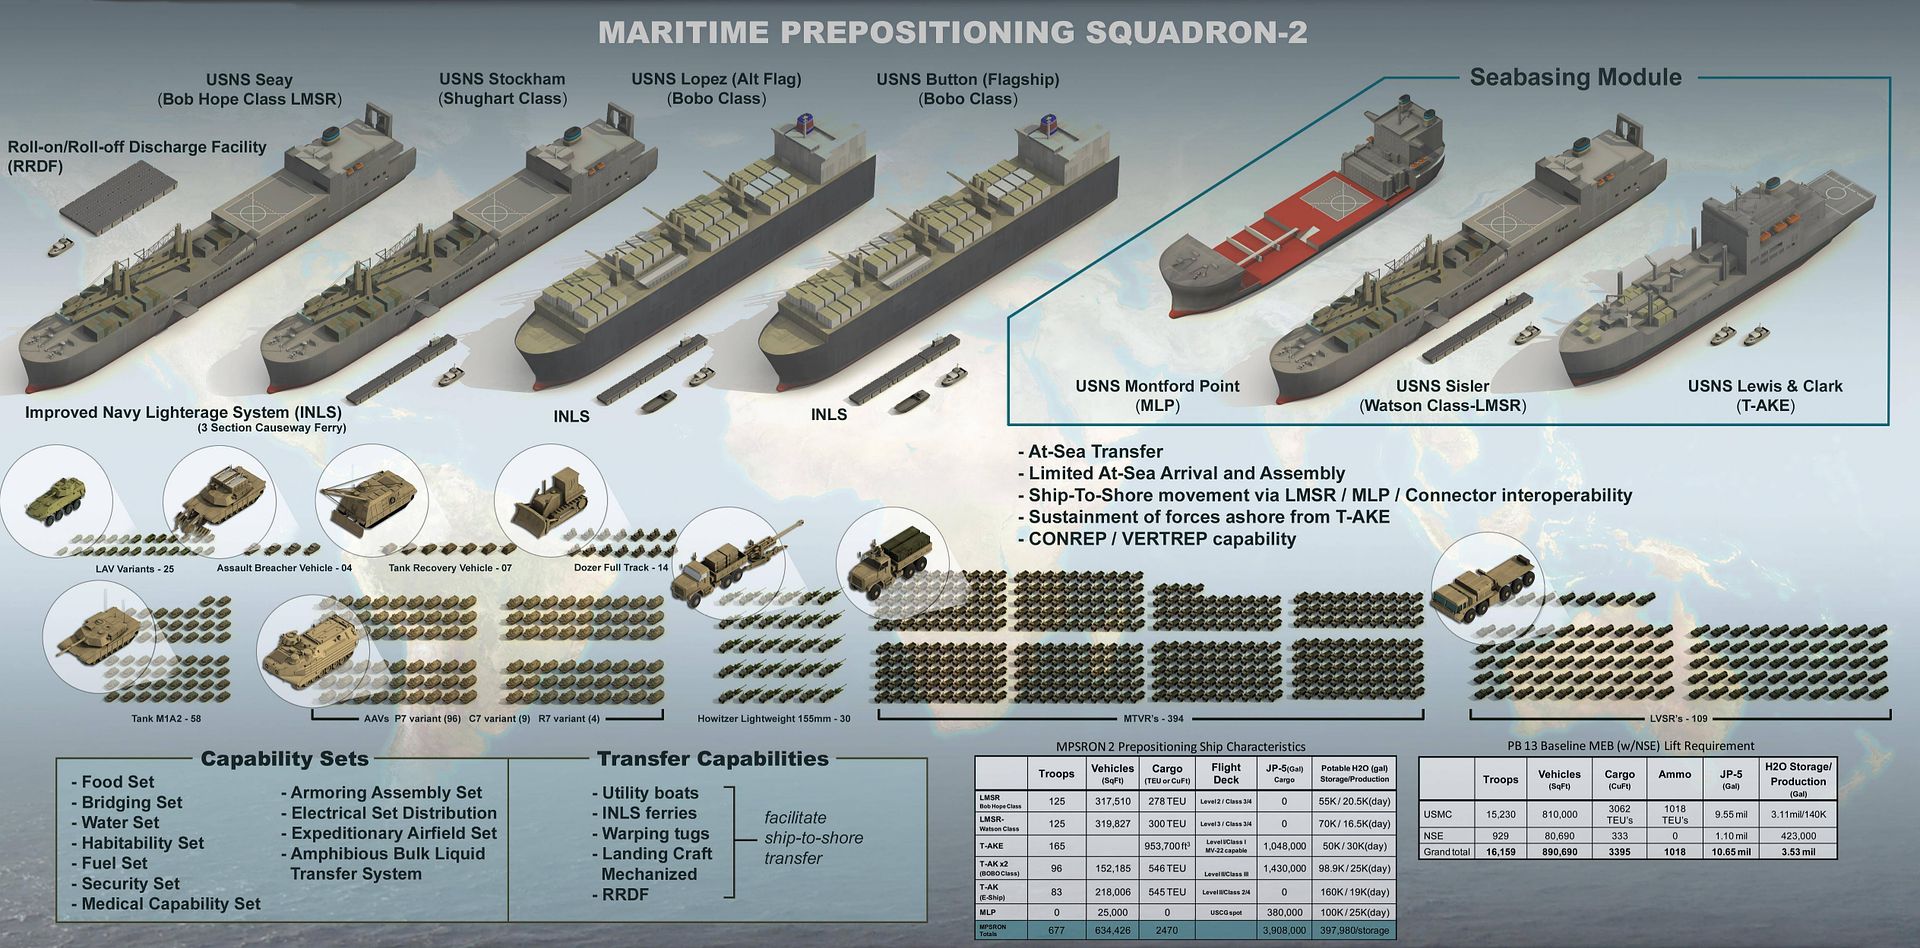
If deploying a Marine Expeditionary Force, it seems likely that  the fleet elements would need to be supplemented with components provided by the Maritime Pre Positioning Force from the various MPSRONs. The numbers of LHA/D required to put a MEB over the beach being 50% of the current fleet of 8 LHDs and 2 soon to be 3 LHAs this fleet would seem to give a potential maximum deployment capacity of 2 MEBs. Given the number of permanently deployed MEUs and maintenance cycles this would be interesting to achieve and would take planing and time. If the division has more than two Brigade Landing Teams then it seems likely that the 3rd would have to call upon an MPSRON, the pre conditions for that would be a degree of security or a port I suppose. The alternatives are getting imaginative around Ships Taken Up From Trade in a manner similar to Op Corporate.

The US Navy is currently aiming to have a fleet of 36 Amphibious ships by 2021, with a number of 38 being identifies as that required to land 2 MEBs and allow for maintenance, whilst 50+ is the number talked about to land an MEF with 3 Brigade Landing Teams.


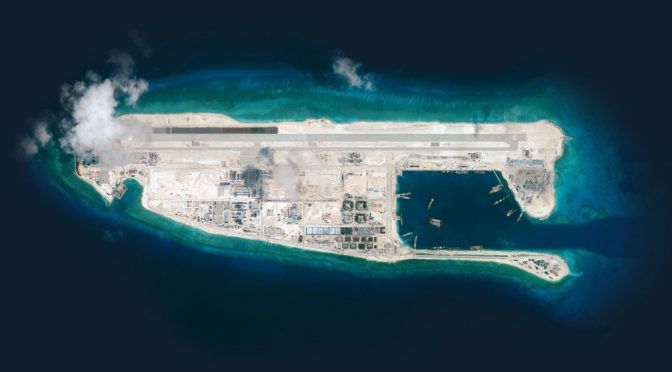
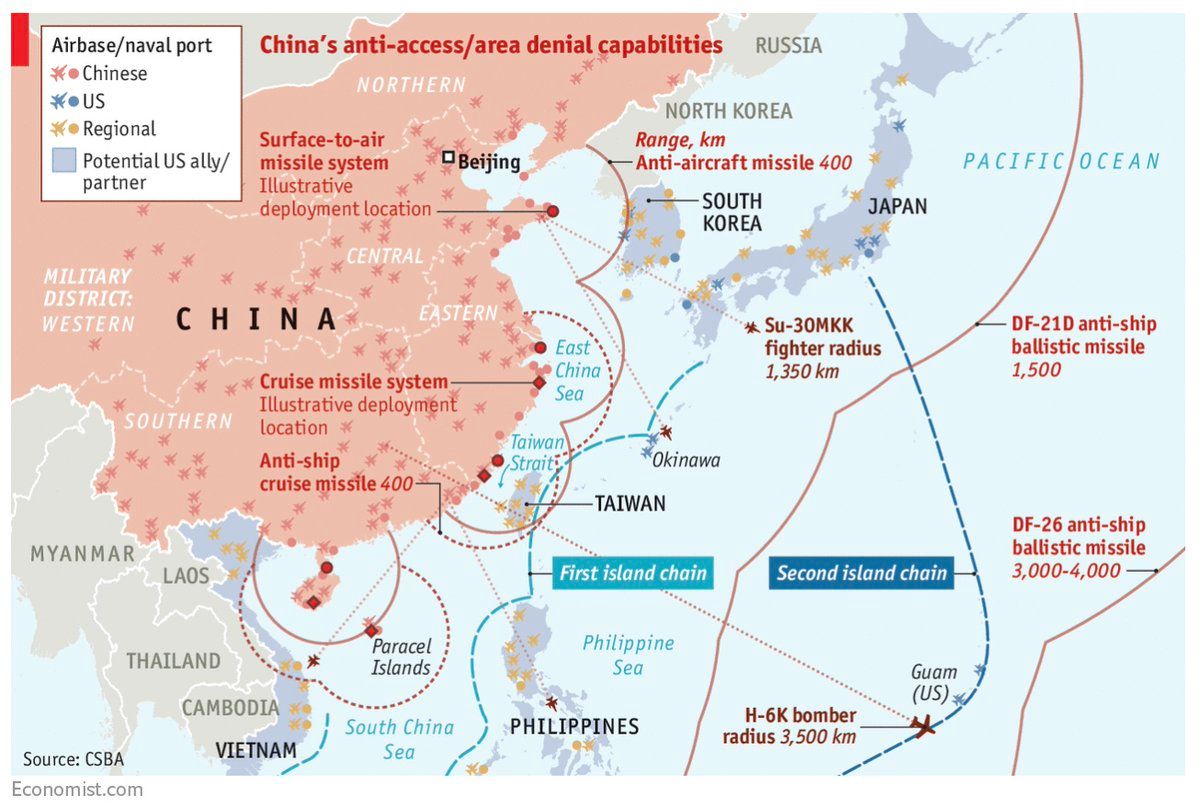
Operational Challenges Of course concentrating this level of force in order to undertake landing operations forms what many would call a large target. Given China's evolving Anti Access Area Denial (A2/AD) capabilities covering the South and East China Seas which include;
  • Island Bases
  • Land based Ballistic Anti Ship missile capabilities, 
  • Missile Attack boats
  • Expanding Diesel Attack Submarine fleet
  • Land Based Aircraft
These A2/AD capabilities pose increased challenges to landing operations in contested littoral environments around these areas, however like the Cold War ATGW threat the balance of capability and advantage will probably see saw around this one for a while.


The Map below illustrates the challenge quite nicely. Traditional Landing operations are conducted from upto 12 Miles offshore, concepts for high speed ship to objective maneuver talk to 100 miles neither of which really tackles the issues illustrated which suggest a need to:

  • Target and engage the land based assets effectively with either Kinetic effects or disruptive attacks such as EW.
  • Provide adequate defence of the landing platforms. 
  • Increase the stand off and dispersion.


Wargames Goal  So my goal is to create a  6mm 1/300 force focused on a MEU MAGTF but that could stretch to a MEB at a more representational level, 1 Vehicle represents a platoon, 1 Ship a group of ships. Currently I am looking to build out the;
  • Ground Combat Element, 
  • Air Combat Element 
  • Naval support Elements probably to the level of the ESG, although a Carrier strike group would be nice, it might be a step to far and pose a major storage challenge.
This force will be used for current and near future games set in the Pacific with the Chinese initially providing the principal opposition. Over time I fancy it could open up to include US Army and Coalition partners of which the most interesting are the Australians although I have yet to really examine any of the other coalition partner options in the region. 


Model Availability

I think of the scale as around 1/300 as to get full coverage of the force components I am looking at:
  • Ground forces 1/285 (Primarily GHQ)
  • Air Forces 1/350 (Primarily Trumpeter)
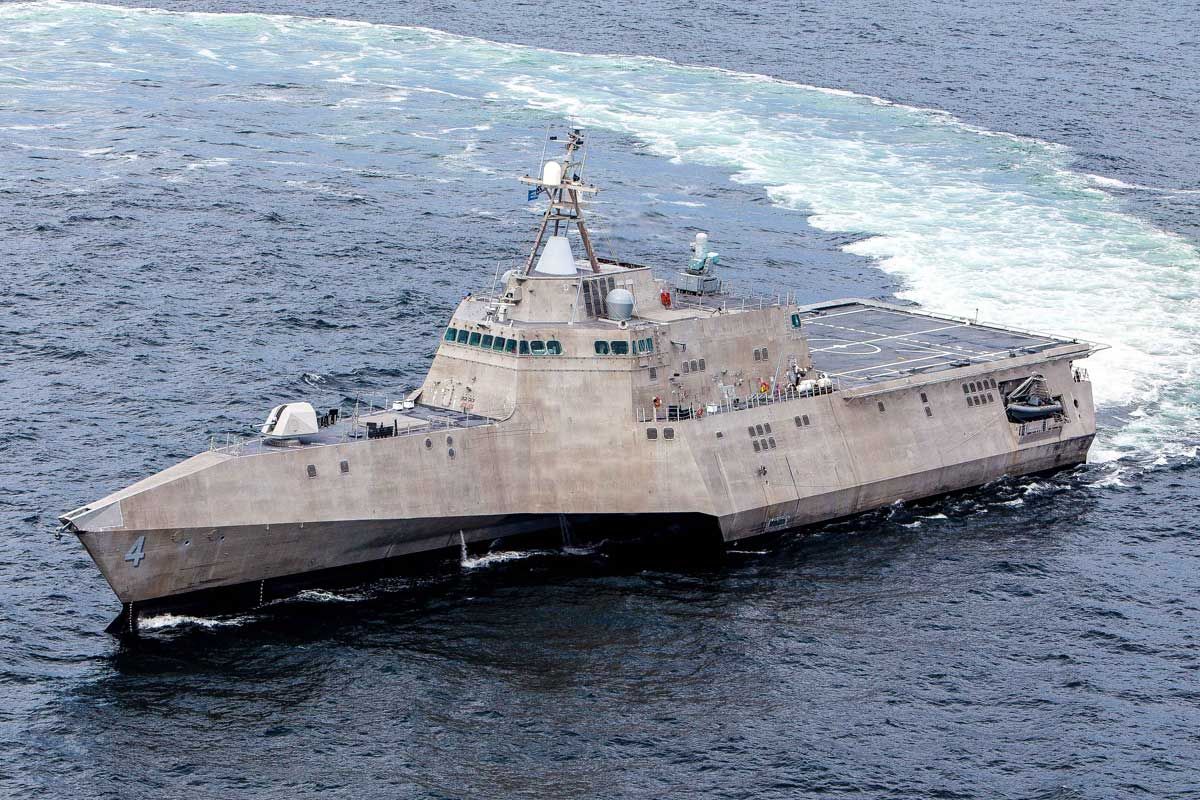
  • Naval Forces 1/350 (Primarily Trumpeter)
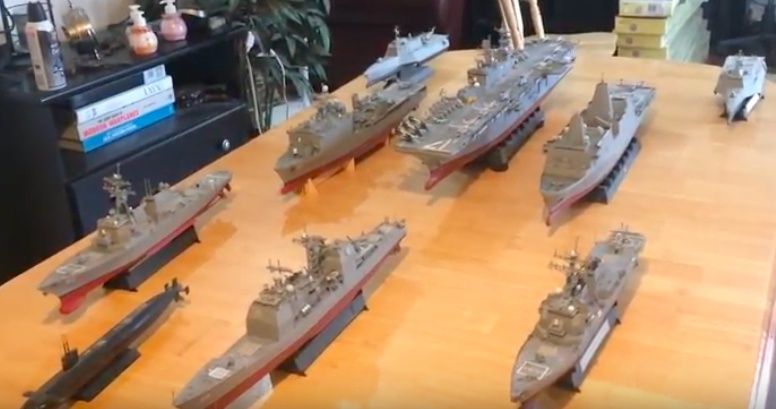
The aspiration on the Naval side would be something that looks like the image below from Jeff Heads 1/350 Scale Model Building and Defence Youtube Channel but waterlined, I will need to work out how they play into the game other than as a sea base and potentially some novel ideas for submarines.


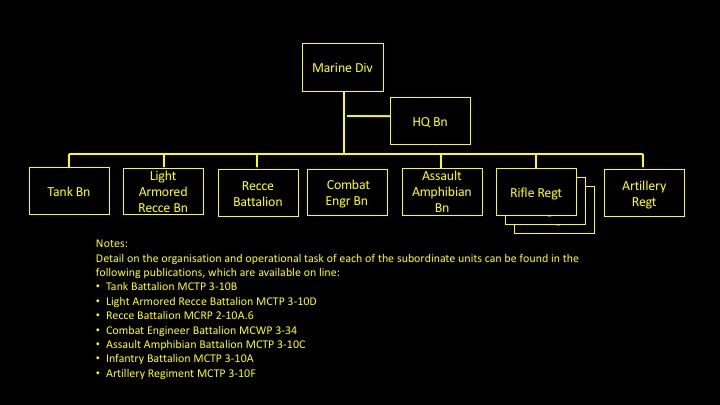
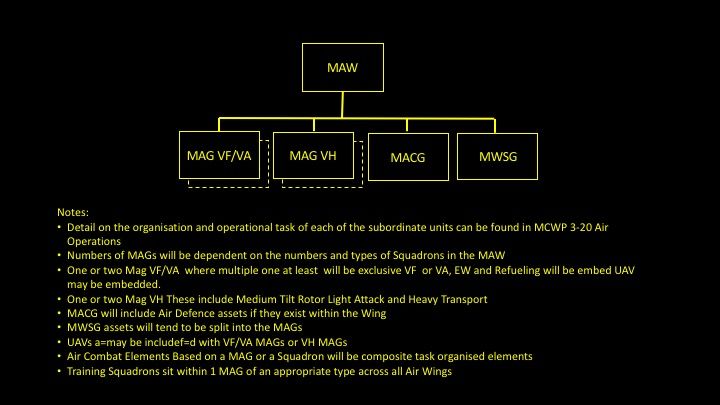
The next articles in this series will examine the composition of a Marine Division and a Marine Air Wing in a little more detail in order to understand the range of components that could be task organised for a USMC MEU, before looking at a representative MEU in detail.


References:
Saturday, 29 September 2018

Modelling - A Basing Philosophy for 6mm Figures and Vehicles


Having switched scales I have been re-evaluating my approaches to a number of common modelling tasks that I was generally happy executing in 20mm.  The first covered in my last post, was stowing vehicles,  the second covered in this one is my philosophy for basing.  I had intended to include this with a model review but soon realised that the level of change warranted a more detailed piece of its own, if only to set out an approach for me to follow as the project developed.


I have always been a firm believer in baseing vehicles which;
  • Protects the model when handled.
  • Makes them look good
  • Reduces the effort in moving lots of infantry around the table  
I always think these factors outweigh the negatives which I tend to think of as:
  • The base does not always match the terrain
  • They take up more space for storage 
  • They raise the model up from ground level.
Elements of the negatives are also more easily managed in this scale as the costs of the models are significantly less than in say 20mm, so you could have multiple versions of the same model on different bases for instance, although I think I'd draw the line between a complete set of Urban and Rural based vehicles although I am considering it for the ship to shore elements and some aircraft.


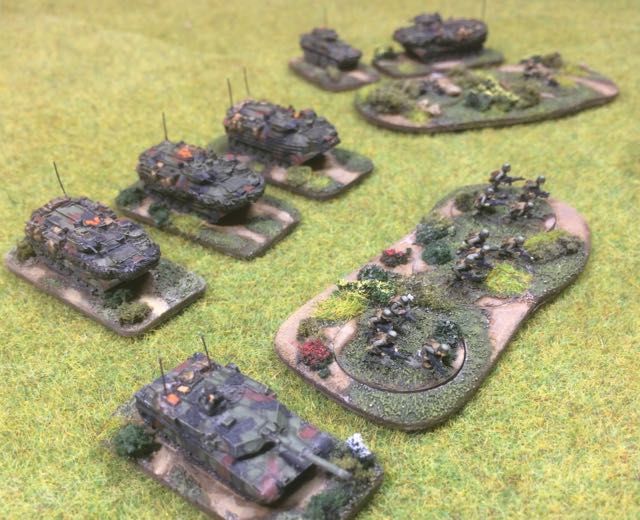
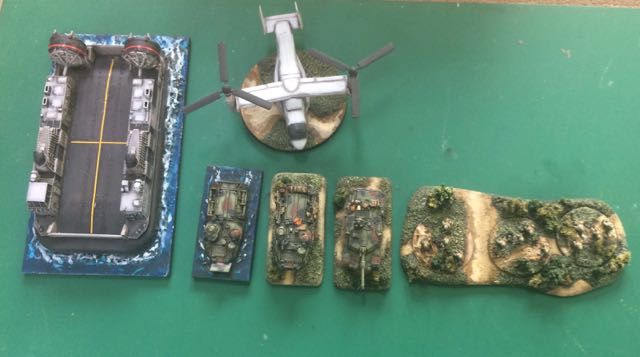
Base Thickness. I like Laser cut MDF bases which are very easy to use, though in this scale there are challenges as the thickness of the bases tends to be around 2mm which is 33% of model height as opposed to 10% of model height in 20mm.  

To counter this I rounded the base corners and then chamfered the edge to reduce the visual impact of the thickness when the model is on the table.  For some of the bigger bases such as infantry group bases an electric sander is a blessing otherwise a sanding block and or sanding sticks are sufficient to the task.

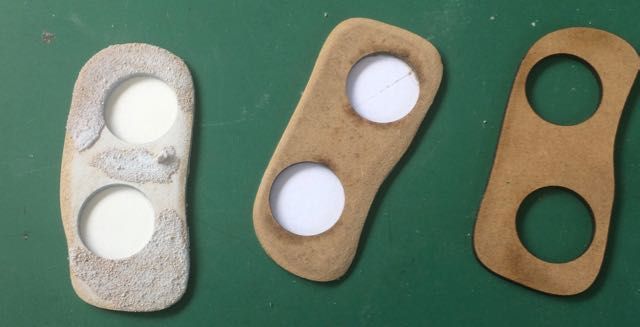
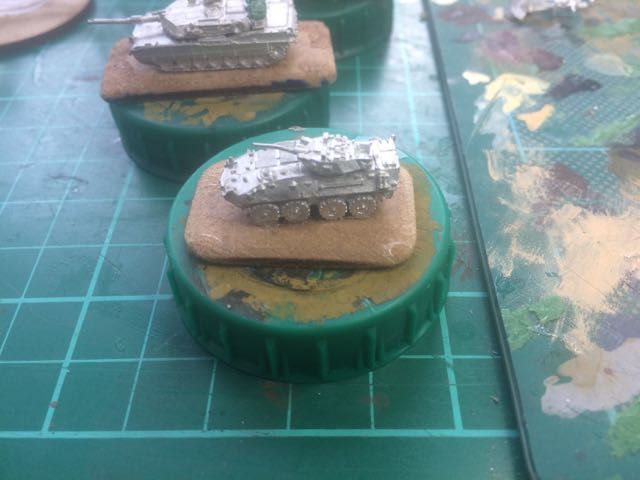
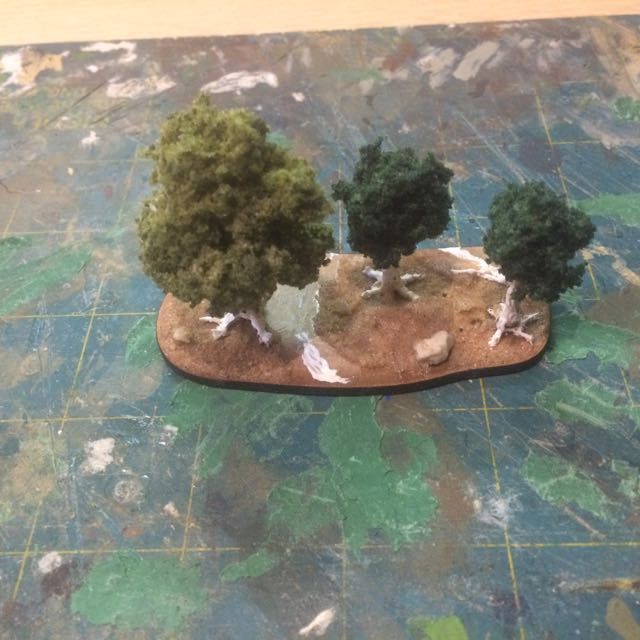
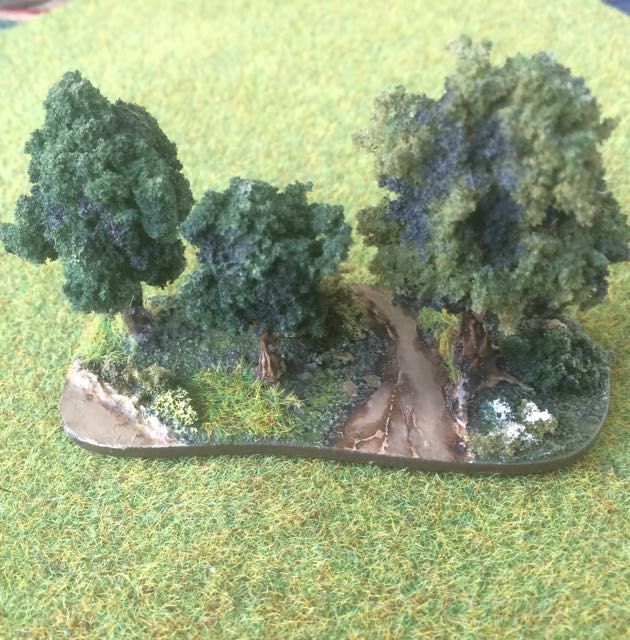
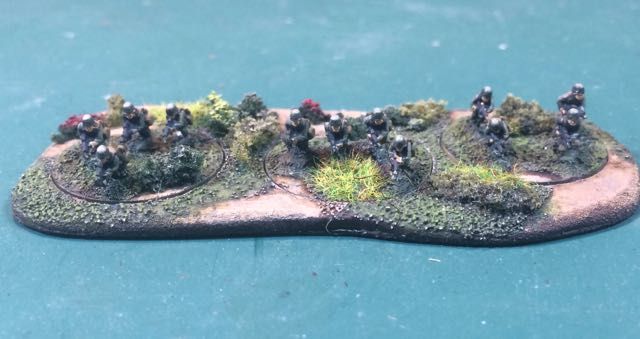
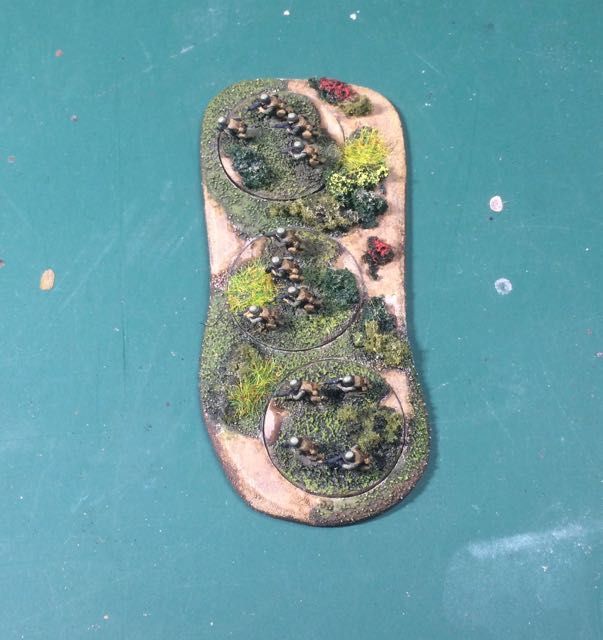
The Infantry movement tray bases are a particular issue as they have a 2mm thick base which has a 2mm thick additional layer with the cutouts in on top.  I replace the bottom layer with cardboard which keeps the height increase to a minimum. Care needs to be taken when working the these bases to keep glue and baseing material away from the slots and the edges of the infantry bases.  The irregular shaped base elements left over by this approach are used for small groups of trees and scatter terrain.


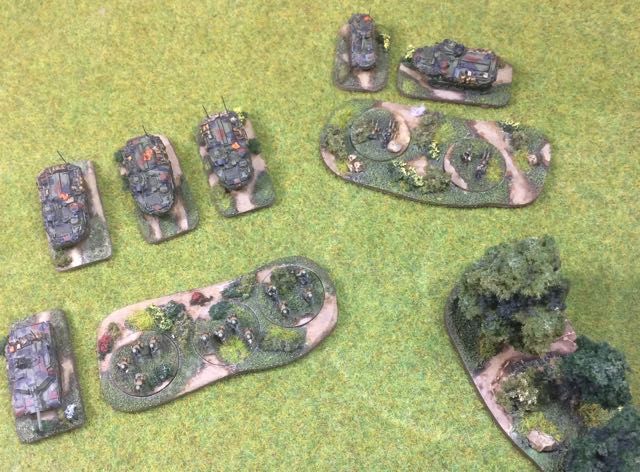
Base Sizes. I think the models look better when you use consistent base sizes for different vehicle types even if the rules don't require it.  Currently for my 6mm forces I am using or considering using the following:
  • Large Armoured Vehicles, 40mm x 20mm
  • Small Armoured Vehicles, 30mm x 20mm or 35mm x 20mm
  • Large Soft Skins, 35mm x 15mm (yet to use this so may need revising)
  • Small Soft skins, 25mm x 15mm 
  • Aircraft Bases 40mm Diameter
  • Artillery Bases, 40mm Diameter
  • Infantry teams, 20mm Diameter
  • Infantry Group Bases, Irregular 2 and 3 team pill bases approx 40mm x 80mm


I get all my bases from East Riding Miniatures who are very quick and have a great range of sizes and in this scale that probably covers significant terrain components.  In addition they produce to a consistent quality.

Ground Work This of course is an area of personal taste but having modeled in 20mm for so long I thought the groundwork raised further challenges as the materials I had used in 20mm seemed like they would be disproportionate in size for 6mm.  Examples include:
  • Static grass which is between 1mm and 2mm in length which in 6mm represent effectively very long grass rather than short grass
  • Sand particles which I use as texture for dirt surfaces in 20mm seemed to be similarly outsized. 
 I therefore decided to revise what materials I used and have outlined my thoughts below.


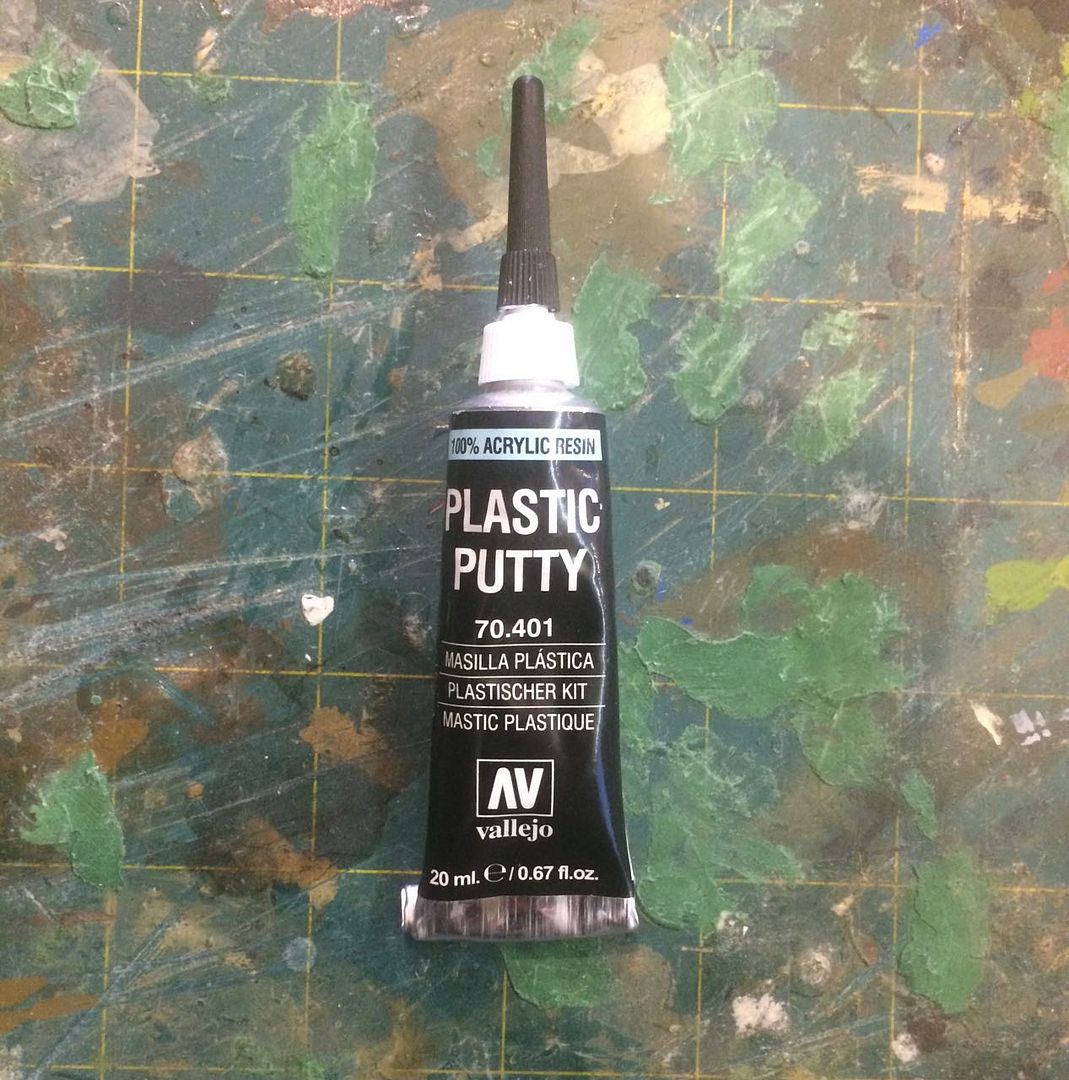
  • Dirt Surfaces, Instead of applying sand I just abraid the surface of the mdf base with sand paper to rough it up a bit and add small amounts of fine texture using my new universal best friend, vallejo plastic filler pipped on to the surface. Plastic filler can also be used to blend in the edges of infantry bases if they are on dirt rather than grass. Because of the long applicator nose this is easy to accurately apply.
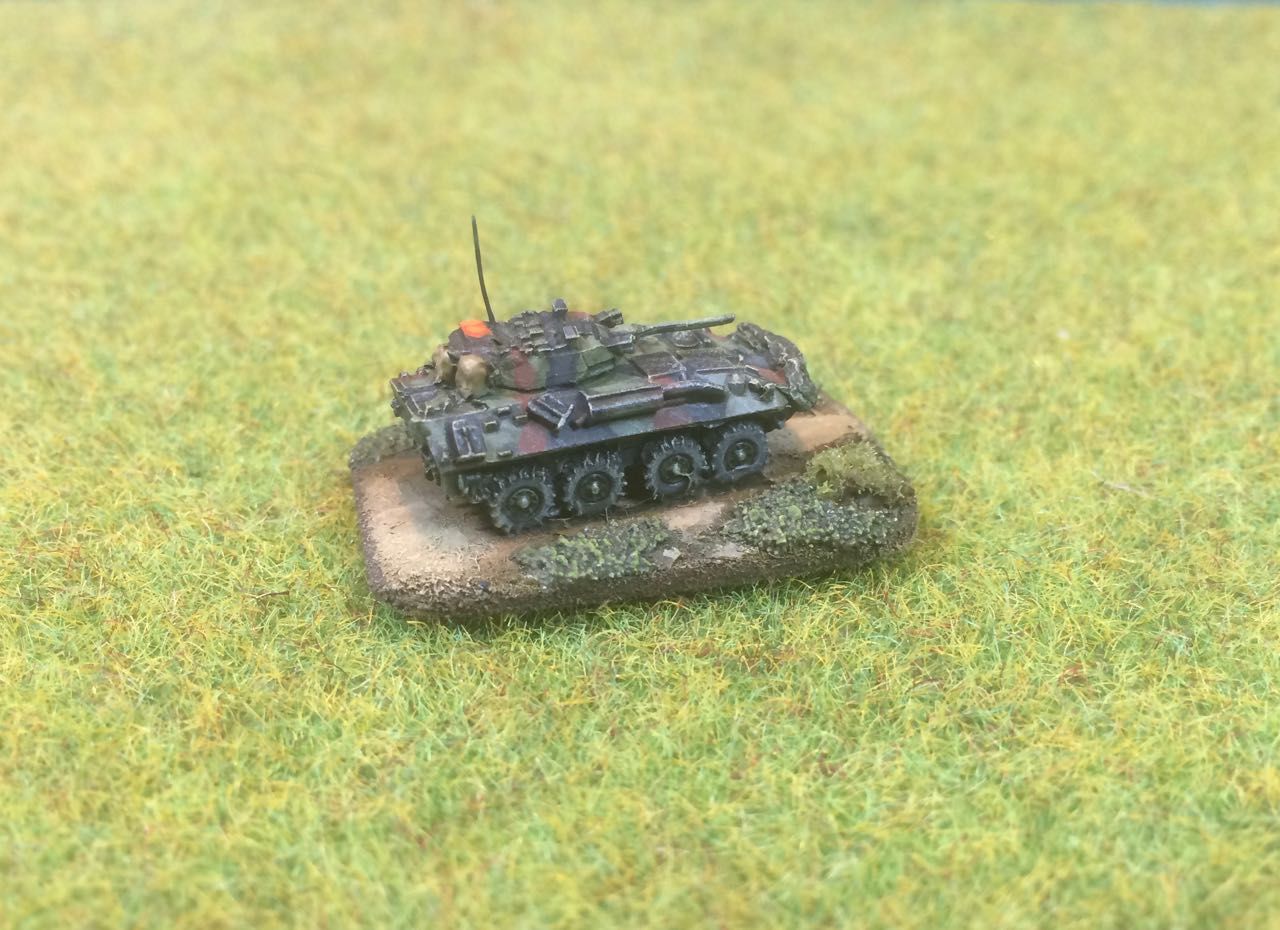
  • Short Grass, Instead of static grass I am using fine sand particles applied on top of white glue. These can also be built up in layers to provide surface variation, I seal it with white glue once the effect has been created otherwise it eats paint.
  • Long Grass. Small clumps of static grass, short tufts (2mm) and Turf clumps any or all attached with white glue.

  • Shrubs and bushes, I use clump bush material divided into a variety of sizes; 1mm-  2mm for small shrubs and long grass and 6mm - 12mm for large bushes and hedges. I use a contact adhesive to attach it to the base, and then saturate it with white glue so it becomes hard. When the white glue has dried and the bush hardened  I then enhance shadow areas with dark green and highlight upper surfaces with buff or light green . These can also be dry brushed with bright primary colours to represent flowers.

  • Rocks.  I use a variety of material to represent rocks rough sizes are: fine ballest 1-2mm, fish tank gravel 2mm-3mm and garden gravel 4mm - 10m.  These are attached using a contact adhesive and painted, washed and dry brushed, with the ground around their base receiving a dark wash to represent shadow.
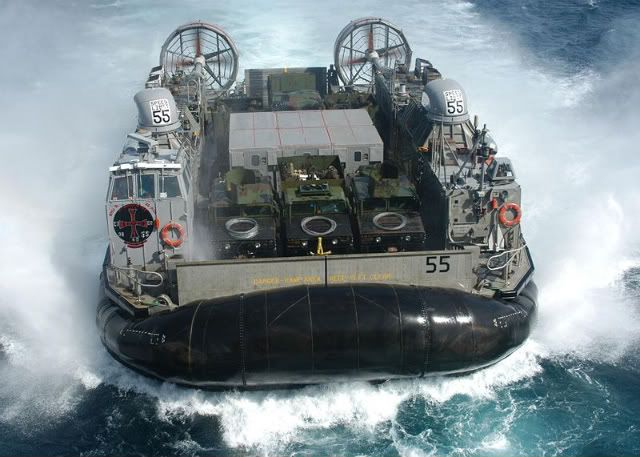
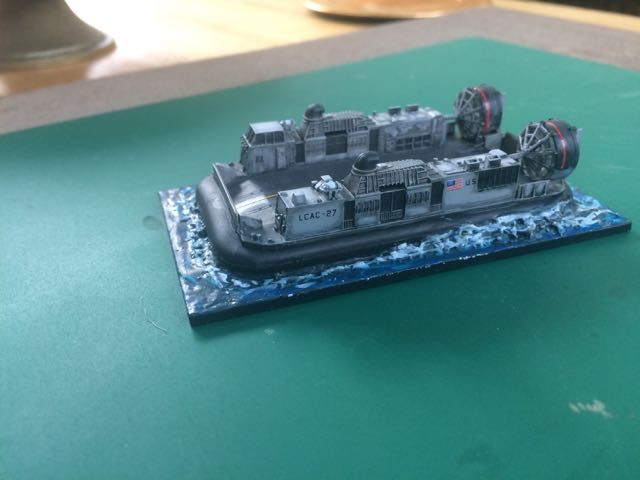
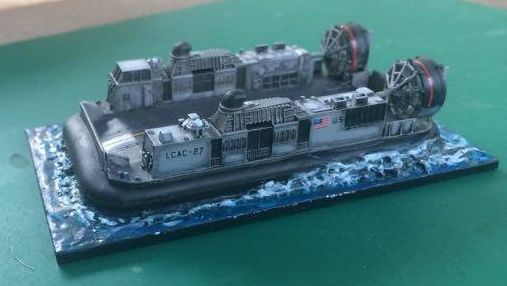
  • Sea and River bases. For representing broken water and surface ripples I use the Vallejo plastic filler again which builds up nicely in layers to represent the spray effects at the back of this hovercraft. Once it has dried I give the base a few washes of white glue to provide a smooth surface  before painting.
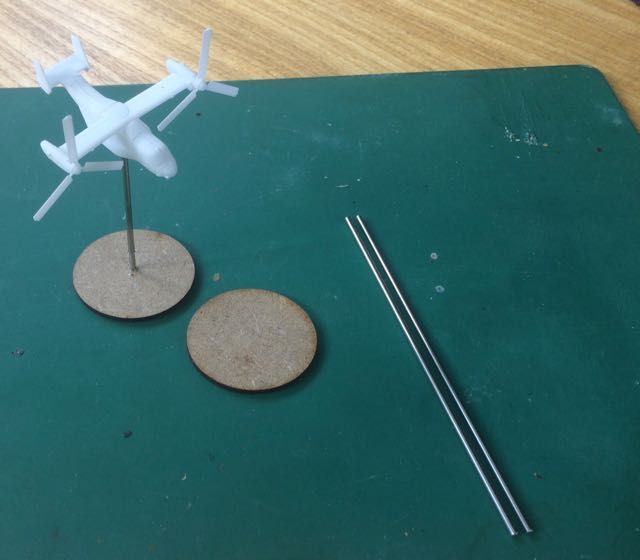
  • Air Bases.  For aircraft I originally kicked off with the idea of using Coresec bases which are very good but a bit big for 1/350 aircraft which is what I am currently intending to use for the aircraft scale.  Wire always strikes me as having potential for getting bent over time, even in reasonably heavy gauges. So I have gone for 2mm stainless steel rods, very strong and a challenge to cut, they need a vice, a pair of bolt cutters and a spare hand but do look very good. I have mounted these in 40mm diameter round bases using a 2mm drill bit and contact adhesive, then the base is prepared as either a land or sea base depending on aircraft role.


Assembly and Production.  I use the following assembly sequence to put the model and their bases together, which broadly follows the following sequence:
  • Stage 1
    • Modify base, Round corners, chamfer edges sand the surface with sandpaper to roughen dirt areas
    • Attach vehicles/figures
    • Attach based vehicle to painting support (I use plastic bottle lids)
  • Stage 2
    • Apply sand to base to represent grass areas, layer and seal on completion with white glue
    • Stow Vehicles when base dry
    • Prime with white primer
  • Stage 3
    • Paint Vehicles/Figures
    • Paint Dirt and Grass
  • Stage 4
    • Add Scatter Material
    • Paint Scatter material as required

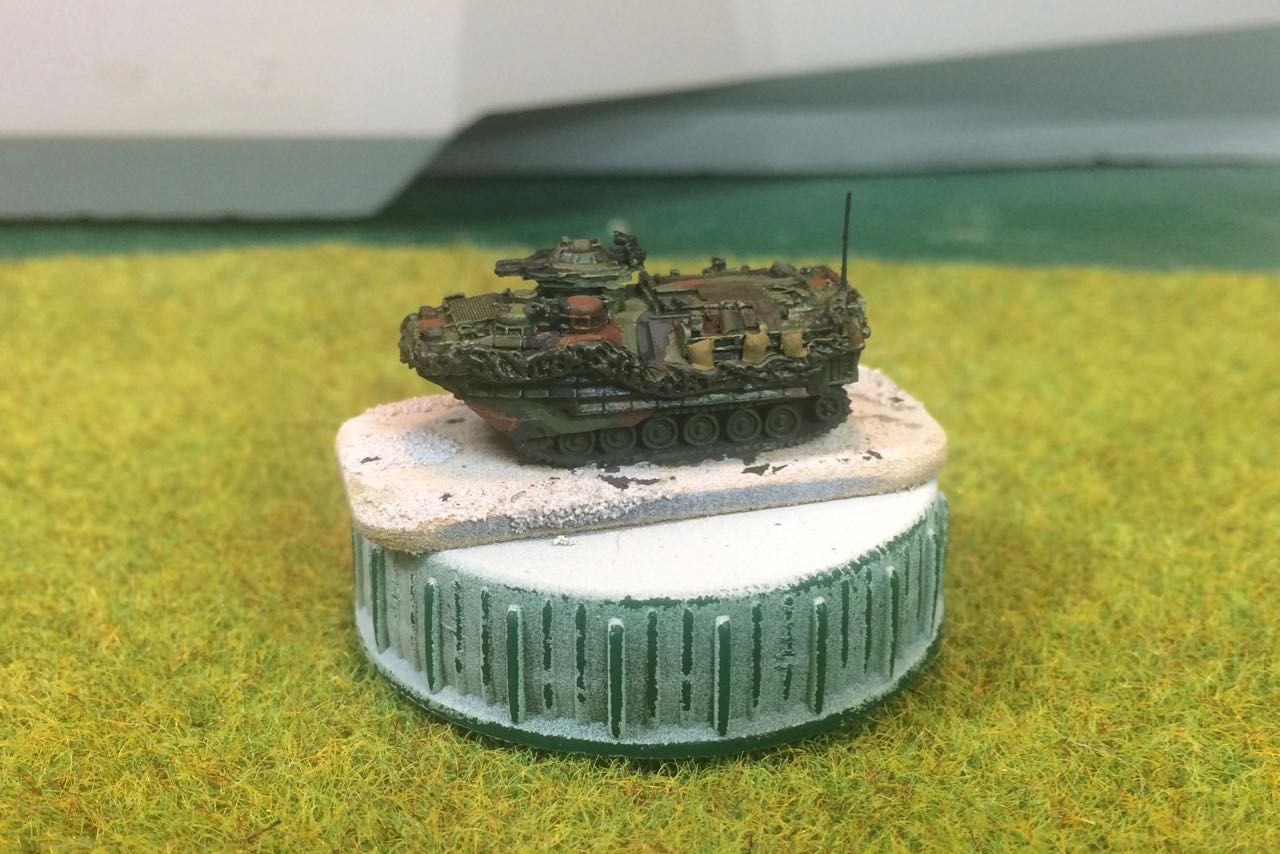
Painting Technique. For 6mm I have been developing a painting style similar in approach to water colour painting.  This uses thin coats of colour on top of white primed bases and models and alternates this with black or dark brown washes using comercial washes. The thin coats of paint are always thin enough to be translucent. Care needs to be taken to not overload the brush.
  • Land Bases I start with a wash of black on grass and brown on the dirt surface, which helps me see. This is then followed by a thin application of the base colour and a follow on black brown wash. Depending on the level of surface texture this is then finished with either dry-brushing or washes of lighter shades of the base colour covering a reducing proportion of the area to be painted leaving the dark edges exposed.  The effect can be enhanced on completion with a final wash around the edge and any raised features on completion.
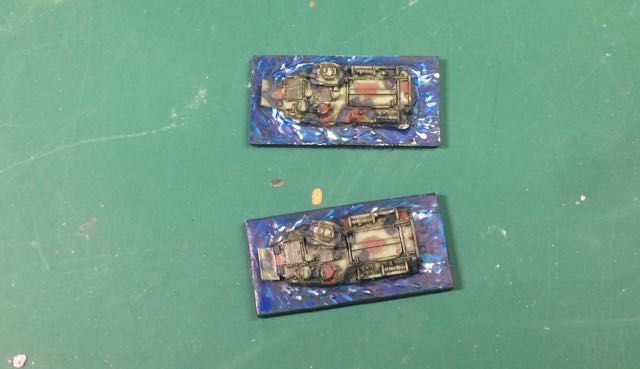
  • Sea Bases, I start with a pre-shade of black grey applied to selected areas, I then wash with medium blue followed by adding highlights in blue green before another wash of medium blue and a wash of dark grey.  This is repeated until the required effect is achieved, broken water is picked out in white. 


South East Asia Basing Colour Scheme.  For The areas of interest around the Pacific and the South and East China seas I am currently using the following colour schemes for the bases.
  • Land
    • Black Wash- Citadel Nuln Oil
    • Brown Wash - Citadel Agrax Earthshade
    • Grass Base - Vallejo, Model Colour 70893, US Dark Green
    • Grass Highlight one - Vallejo, Model Colour 70967, Olive Green
    • Grass High Light two - Vallejo, Model Colour 70857, Golden Olive
    • Foliage Shadow - Citadel Nuln Oil
    • Dirt Base - Vallejo, Model Colour 70880, Khaki Grey
    • Dirt High light - Vallejo, Model Colour 70976, Buff
  • Sea
    • Water Dark areas- Vallejo, Model Colour 70852, Black Grey
    • Water Light Areas - Vallejo, Model Colour 70808, Blue Green
    • Water Surface Wash - Vallejo, Model Colour 70963, Medium Blue
    • Broken Water - Vallejo, Model Colour 70951 White
If you have any ideas or tips you would like to share please do so in the comments section or on the Coldwargamer facebook page.

Note: I am updating this as I develop the techniques, additional material has been added on aircraft bases and the construction of the infantry movement trays, since the original post was published


Saturday, 22 September 2018

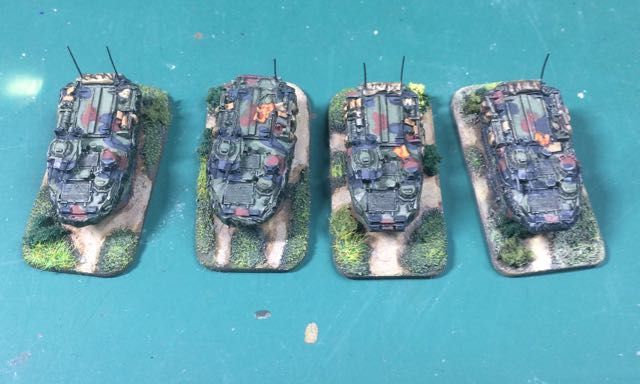
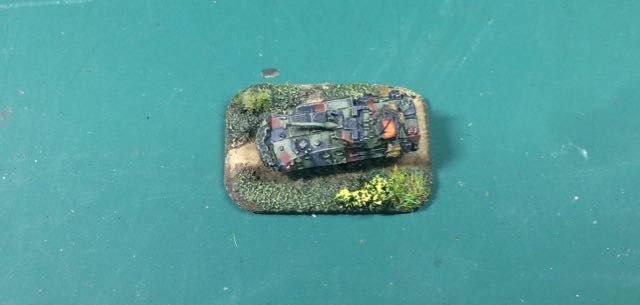
Modelling - Stowing USMC vehicles in 6mm


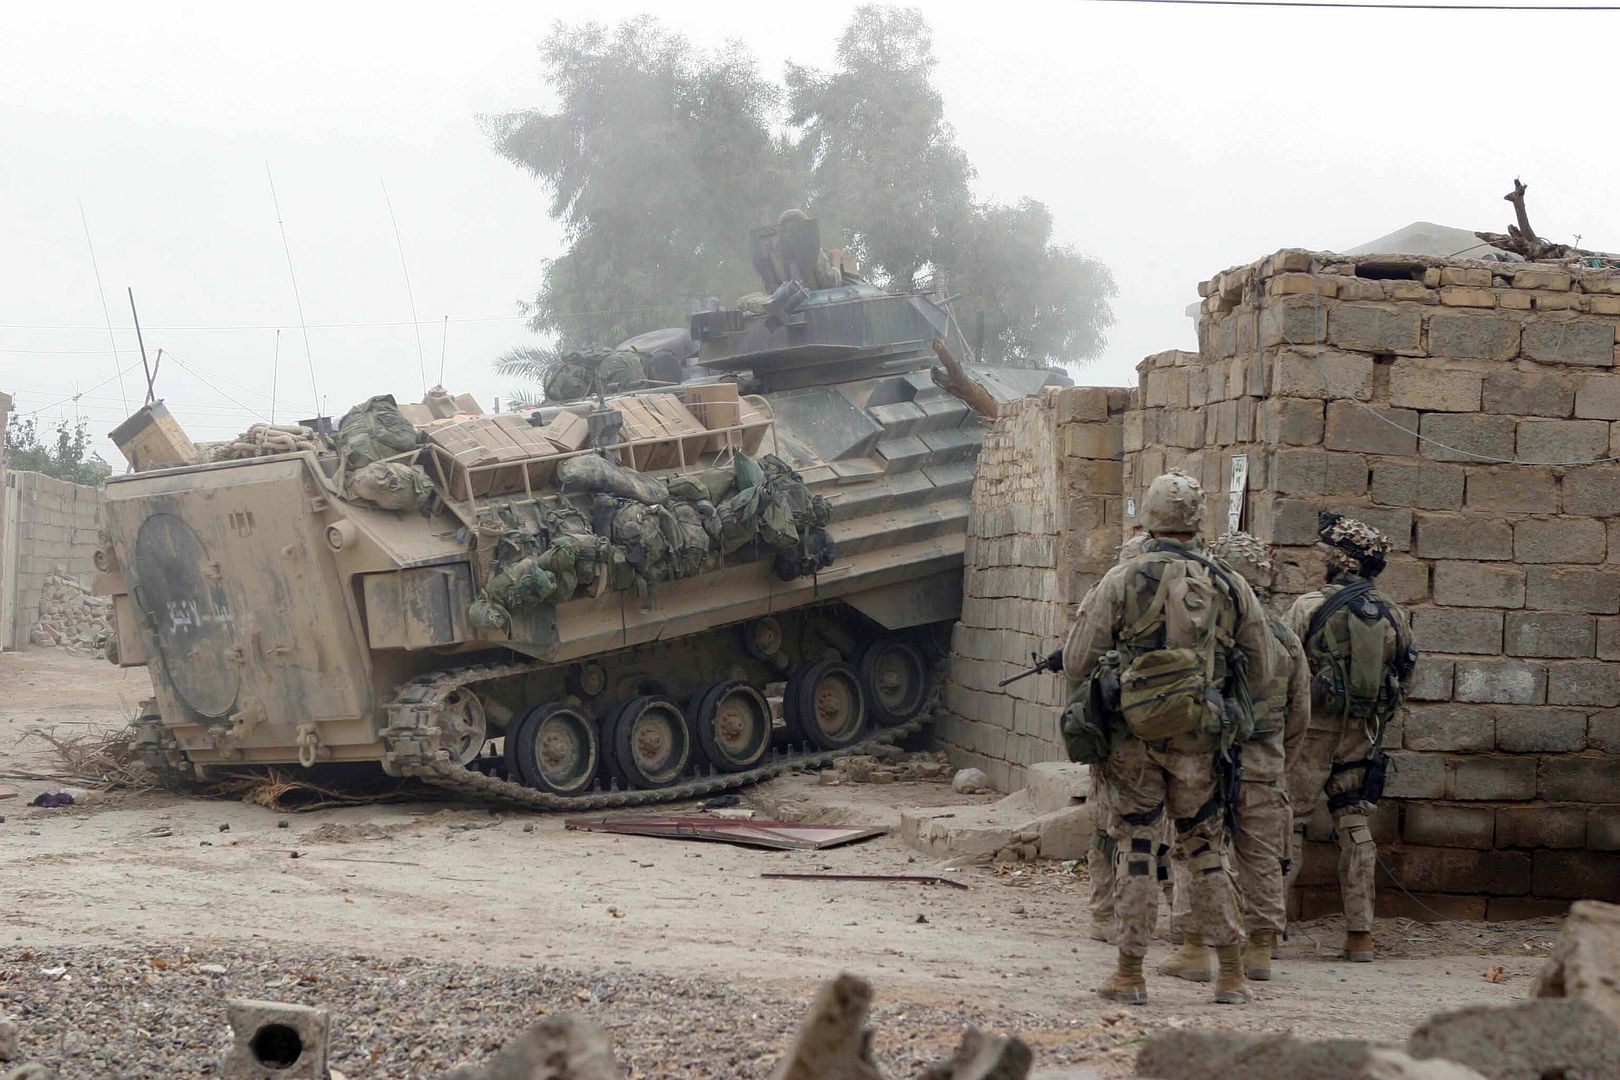
Vehicles in most armies carry a degree of external stowage and there always seems to be more of it when they are on operations rather than exercises, I suspect because ammunition load outs always take up more space when you are expecting to have to fight. The USMC seem to embrace external stowage to the full and pictures of their vehicles from recent deployments nearly always carry an amount of external load.


Having built one USMC force in 20mm I was used to loading their wagons with all sorts of stowage to match the images seen on the web, in the press and my somewhat vivid imagination.  In the land of 6mm, I was not exactly surprised to find that there were limited product ranges out there for representing external stowage and a lot of the techniques I had used for Cam nets and other items looked like they might be of less use in this scale.


One of the great things about 6mm, of which I am rapidly discovering there are many, is that 1mm represents a foot, so it's relatively easy to work out how big the stuff needs to be to fit on the model even for the mathematically challenged like myself.  The other great thing about 6mm is that very small things can be represented by very simple shapes and still look good, although I am generally of the opinion that you need to keep the objects of a fairly consistent size and shape if they are to be credible. Other than that its largely a question of colouring them in.


What Stowage and How to Make it
The ideas I have had to date are based on what one might consider to be common stowage items and the size they need to be, and how I have currently approached be representing them.

  • Crew - Chopped Figures, prone figures with Binos, turned out to be very good, green stuff hatches added to their backs round them out.


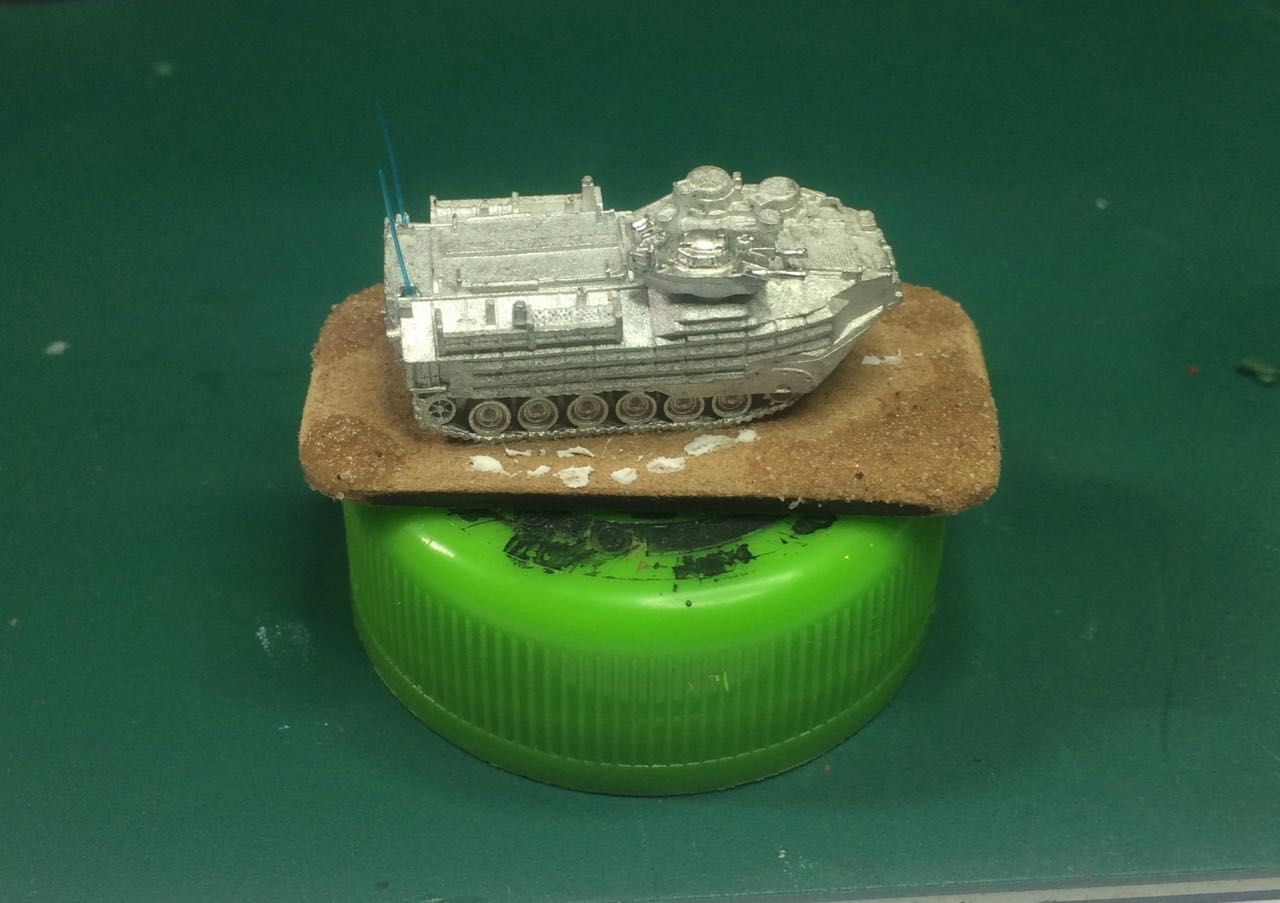
  • Radio Antenna, 2-3m long so 6 - 12mm, I went for tooth brush bristles, which are pretty thin virtually indestructible and don't put holes in your fingers.
  • Boxes - Various shapes and sizes from 10-12 inches for ammo cans through to 3-4 feet for ration cartons and large calibre ammunition crates, I went for plastic strip in a variety of thickness and widths, cut to an appropriate length enabling me to easily create multiple consistent boxes.
  • Rucksacks, I started with green stuff but in order to get a consistent size and shape switched to plasticard 3mm wide x .25mm thick (ish) which I cut in to 2mm strips then bulked out with Vallejo plastic putty, which is great for all sorts of bits in this scale, if you want something pipe it.

  • Roll Matts, .5mm plastic rod or brass rod cut to 2mm-3mm length, plastic rods better as you get square ends.

  • Grease Cans 1mm - 1.5mm plastic rod cut to 2 - 2.5mm lengths
  • Rubbish Sacks, piped with vallejo plastic putty
  • Sleeping Bags, green stuff or Vallejo plastic putty
  • Tarpaulins, green stuff
  • Cam Nets, green stuff, rolled to the approximate thickness required, then applied to vehicle, trimmed to size, pulled and pushed to make it look like its hanging from ties, then textured using a sharp point and a knife blade, ideally dipped in water to stop the green stuff adhering to the instrument of choice.
  • Air ID Marker Panels, I believe the US ones are modular and can also be folded so anything from a small square to a strip 2mm x 6mm. I use tin foil.

  • Flags - Tin Foil cut to size
  • Crew served and individual weapons - trimmed from figures, yet to really give this a go
  • Wheels - I think Heroics and Ross do some but I have yet to get my hands on any
  • Jerry Cans - I gave up :), any one knows of any let me know.


Where To Stick It

The important thing to bear in mind when stowing any vehicle is that it is a working machine:
  • Bits of it are hot, 
  • Bits of it move, 
  • Hatches, panels and turrets need to be accessible and able to function to allow entry exit and access for maintenance.
  • Air needs to circulate through engine grills to cool engines.  
Most of these places are best avoided and therefore the space on the vehicle to stow things is actually fairly limited.  Having said all that sometimes you have to pack in a hurry so there will always be the odd exception but as a general rule most crews will stow there wagons in a way that does not impair there ability to fight and maintain the vehicle.


Friday, 21 September 2018

Dragon Risen this time in 6mm


Its a few years since I did anything with this project.  I started gaming ultra modern around 2009 primarily building US expeditionary forces which included a US Army Strkyer Battalion and a USMC MEU in 20mm, when I started the opposition were mainly insurgents in Iran and Afghanistan. Dragon Rising kicked off around 4 years later when I wanted to examine the Pivot to the Pacific and possible future conflict with China in and around the South and East China seas which seemed to offer some interesting scenario options along with fledgling ranges of figures and vehicles from S Models, Elhiem, S&S and the Hobby den.  Sadly despite the success of some notable Chinese model makers such as Trumpeter and Modelcollect the 20mm options on modern Chinese equipments were and still are very limited particularly in the field of IFVs, APCs and Self Propelled Guns.


The theatre and potential flash points still interest me and there is a lot of information available on the web for those interested in  modern/ultra modern/near future and what if scenarios involving a variety of players in the region.  So I decided it was time to kick things off again but due to the limitations outlined in 20mm I decided to look to look at other scales which might better support both the period and the theatre.


It didn't take long to whittle the choice down to something around 6mm:
  • Good representation of AFVs from all the major regional players
  • Good representation of Aircraft and Helicopters
  • Brilliant representation of Naval Assets at a size that can be accomodated
  • A rich selection of terrain options, although more limited than 20mm a lot more easy to manage
  • some good rule sets accommodating the major players and equipment.
  • and a significantly reduced storage footprint, essential given the size of some of my 20mm projects.


So here I am, embarking on the second 6mm adventure of my life although the last was around 40 years ago.  It was good to see that all the manufacturers I was familiar with then are still going strong today.  I am kicking the Project off with some US force options.


The first will be the US Marines and US Navy with a focus on over the beach operations, followed I suspect by some OPFOR (Chinese) and then some US ARMY representation with a Stryker battalion. All that will need to run along side some serious terrain production.


The Pacific theatre both in WW2 and today is mostly wet, and Naval elements play a dominant role,  ultimately my interest lies in the Land battle but I think this needs to be set in the context of the Naval operations which have tended to dominate the recent history of the region. I have kicked off the purchasing and will be following this post with something on the composition of USMC Marine Air Ground Task Forces with a specific focus on the Marine Expeditionary Unit Special Operations Capable and its associated Naval assets.  In addition to that I will share my experiences in building the force, if only to record what I do so I don't forget, hopefully people who read this will find it useful.