Welcome to Dragon Rising, Bear Resurgent , a blog I am using to record my Post Cold War wargaming projects. These are focused on expeditionary operations by Chinese, Russian, American and NATO forces in the post Cold War era, modelled and gamed in 20mm & 6mm. The blog includes links to various resources useful to the 21st Centuary Cold War Gamer.
Showing posts with label Modelling. Show all posts

Saturday, 29 September 2018

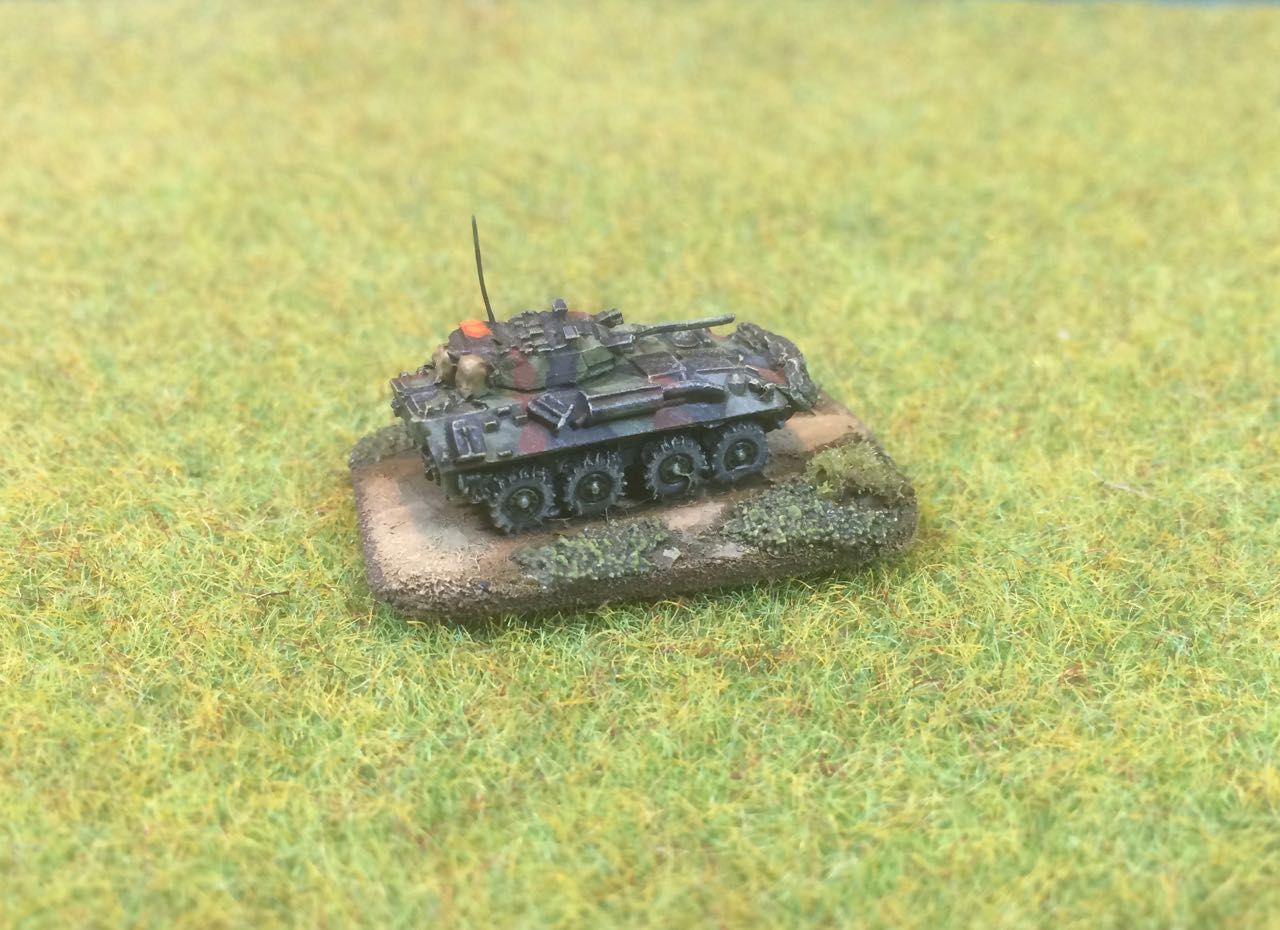
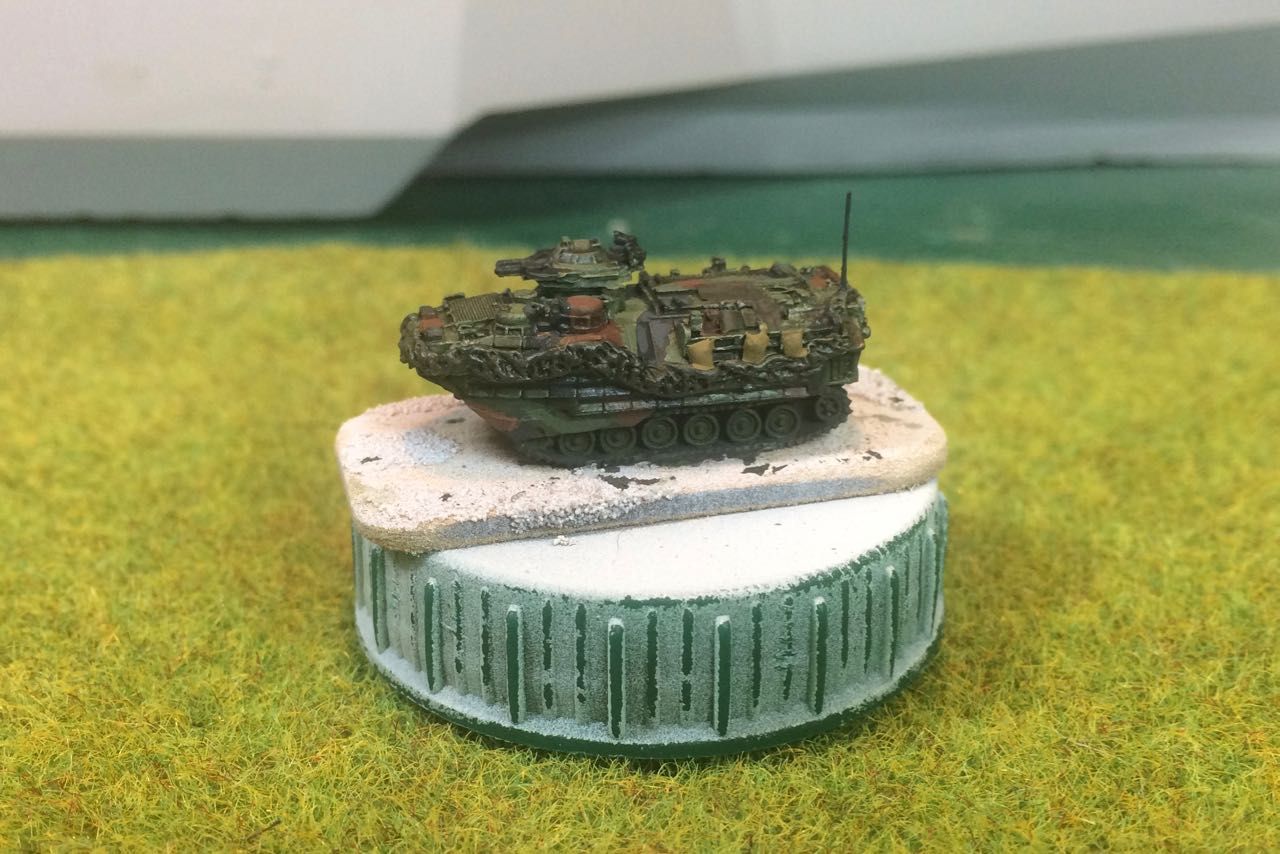
Modelling - A Basing Philosophy for 6mm Figures and Vehicles


Having switched scales I have been re-evaluating my approaches to a number of common modelling tasks that I was generally happy executing in 20mm.  The first covered in my last post, was stowing vehicles,  the second covered in this one is my philosophy for basing.  I had intended to include this with a model review but soon realised that the level of change warranted a more detailed piece of its own, if only to set out an approach for me to follow as the project developed.
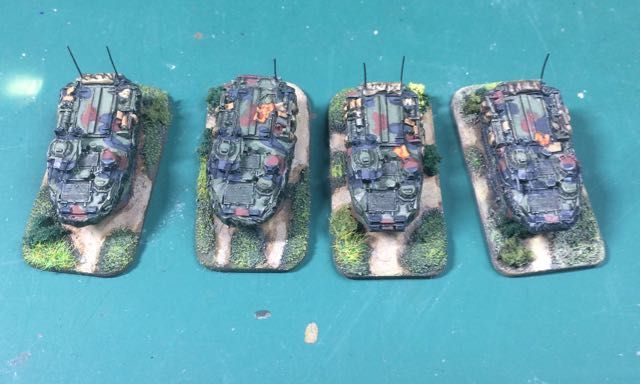

I have always been a firm believer in baseing vehicles which;
  • Protects the model when handled.
  • Makes them look good
  • Reduces the effort in moving lots of infantry around the table  
I always think these factors outweigh the negatives which I tend to think of as:
  • The base does not always match the terrain
  • They take up more space for storage 
  • They raise the model up from ground level.
Elements of the negatives are also more easily managed in this scale as the costs of the models are significantly less than in say 20mm, so you could have multiple versions of the same model on different bases for instance, although I think I'd draw the line between a complete set of Urban and Rural based vehicles although I am considering it for the ship to shore elements and some aircraft.
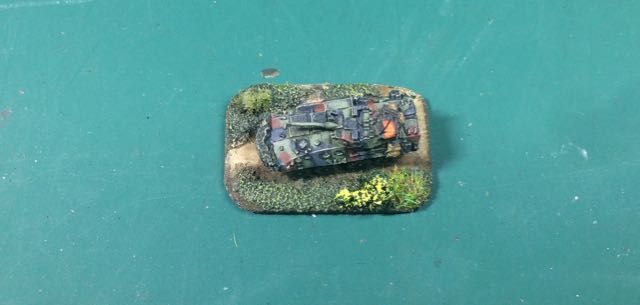

Base Thickness. I like Laser cut MDF bases which are very easy to use, though in this scale there are challenges as the thickness of the bases tends to be around 2mm which is 33% of model height as opposed to 10% of model height in 20mm.  

To counter this I rounded the base corners and then chamfered the edge to reduce the visual impact of the thickness when the model is on the table.  For some of the bigger bases such as infantry group bases an electric sander is a blessing otherwise a sanding block and or sanding sticks are sufficient to the task.

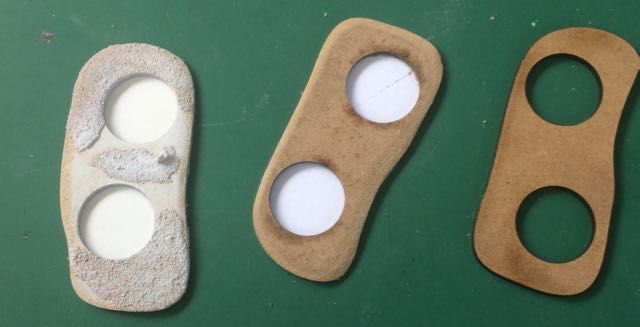
The Infantry movement tray bases are a particular issue as they have a 2mm thick base which has a 2mm thick additional layer with the cutouts in on top.  I replace the bottom layer with cardboard which keeps the height increase to a minimum. Care needs to be taken when working the these bases to keep glue and baseing material away from the slots and the edges of the infantry bases.  The irregular shaped base elements left over by this approach are used for small groups of trees and scatter terrain.


Base Sizes. I think the models look better when you use consistent base sizes for different vehicle types even if the rules don't require it.  Currently for my 6mm forces I am using or considering using the following:
  • Large Armoured Vehicles, 40mm x 20mm
  • Small Armoured Vehicles, 30mm x 20mm or 35mm x 20mm
  • Large Soft Skins, 35mm x 15mm (yet to use this so may need revising)
  • Small Soft skins, 25mm x 15mm 
  • Aircraft Bases 40mm Diameter
  • Artillery Bases, 40mm Diameter
  • Infantry teams, 20mm Diameter
  • Infantry Group Bases, Irregular 2 and 3 team pill bases approx 40mm x 80mm
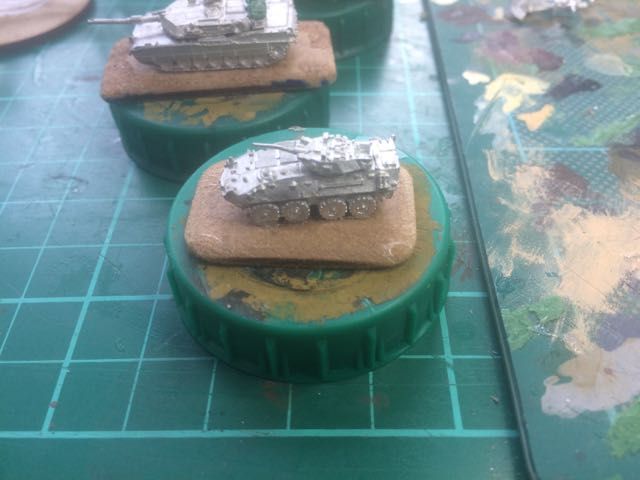


I get all my bases from East Riding Miniatures who are very quick and have a great range of sizes and in this scale that probably covers significant terrain components.  In addition they produce to a consistent quality.

Ground Work This of course is an area of personal taste but having modeled in 20mm for so long I thought the groundwork raised further challenges as the materials I had used in 20mm seemed like they would be disproportionate in size for 6mm.  Examples include:
  • Static grass which is between 1mm and 2mm in length which in 6mm represent effectively very long grass rather than short grass
  • Sand particles which I use as texture for dirt surfaces in 20mm seemed to be similarly outsized. 
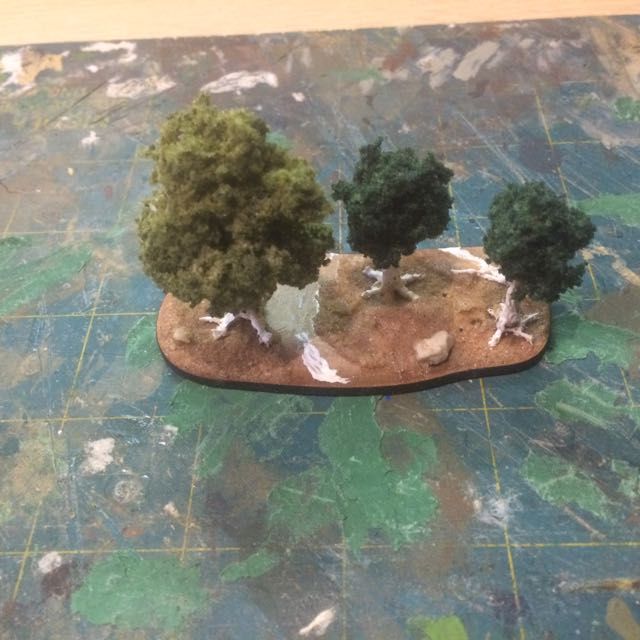
 I therefore decided to revise what materials I used and have outlined my thoughts below.


  • Dirt Surfaces, Instead of applying sand I just abraid the surface of the mdf base with sand paper to rough it up a bit and add small amounts of fine texture using my new universal best friend, vallejo plastic filler pipped on to the surface. Plastic filler can also be used to blend in the edges of infantry bases if they are on dirt rather than grass. Because of the long applicator nose this is easy to accurately apply.
  • Short Grass, Instead of static grass I am using fine sand particles applied on top of white glue. These can also be built up in layers to provide surface variation, I seal it with white glue once the effect has been created otherwise it eats paint.
  • Long Grass. Small clumps of static grass, short tufts (2mm) and Turf clumps any or all attached with white glue.
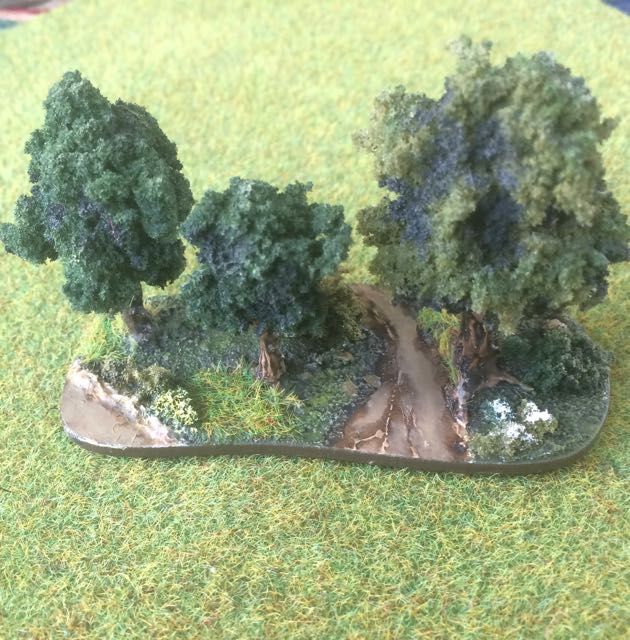
  • Shrubs and bushes, I use clump bush material divided into a variety of sizes; 1mm-  2mm for small shrubs and long grass and 6mm - 12mm for large bushes and hedges. I use a contact adhesive to attach it to the base, and then saturate it with white glue so it becomes hard. When the white glue has dried and the bush hardened  I then enhance shadow areas with dark green and highlight upper surfaces with buff or light green . These can also be dry brushed with bright primary colours to represent flowers.
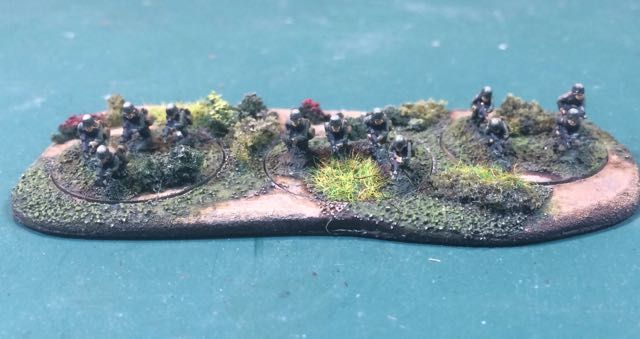
  • Rocks.  I use a variety of material to represent rocks rough sizes are: fine ballest 1-2mm, fish tank gravel 2mm-3mm and garden gravel 4mm - 10m.  These are attached using a contact adhesive and painted, washed and dry brushed, with the ground around their base receiving a dark wash to represent shadow.
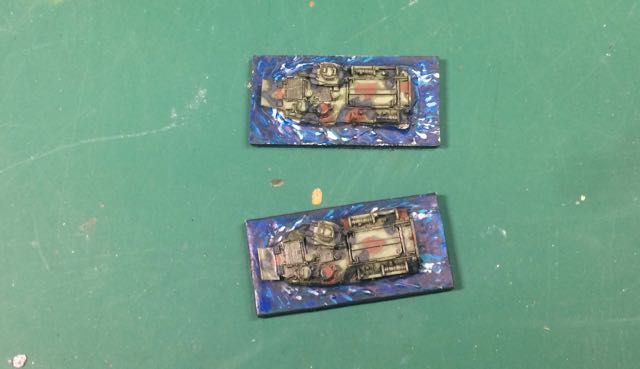
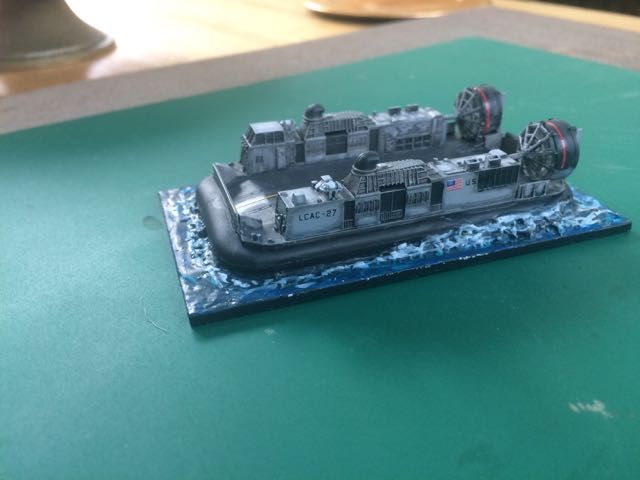
  • Sea and River bases. For representing broken water and surface ripples I use the Vallejo plastic filler again which builds up nicely in layers to represent the spray effects at the back of this hovercraft. Once it has dried I give the base a few washes of white glue to provide a smooth surface  before painting.
  • Air Bases.  For aircraft I originally kicked off with the idea of using Coresec bases which are very good but a bit big for 1/350 aircraft which is what I am currently intending to use for the aircraft scale.  Wire always strikes me as having potential for getting bent over time, even in reasonably heavy gauges. So I have gone for 2mm stainless steel rods, very strong and a challenge to cut, they need a vice, a pair of bolt cutters and a spare hand but do look very good. I have mounted these in 40mm diameter round bases using a 2mm drill bit and contact adhesive, then the base is prepared as either a land or sea base depending on aircraft role.
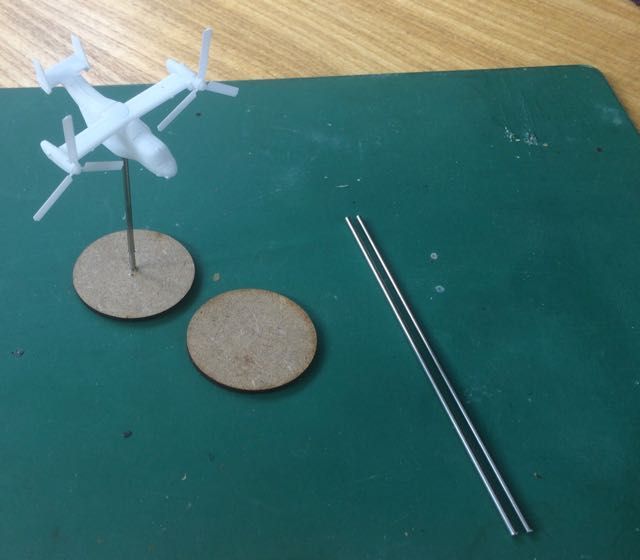


Assembly and Production.  I use the following assembly sequence to put the model and their bases together, which broadly follows the following sequence:
  • Stage 1
    • Modify base, Round corners, chamfer edges sand the surface with sandpaper to roughen dirt areas
    • Attach vehicles/figures
    • Attach based vehicle to painting support (I use plastic bottle lids)
  • Stage 2
    • Apply sand to base to represent grass areas, layer and seal on completion with white glue
    • Stow Vehicles when base dry
    • Prime with white primer
  • Stage 3
    • Paint Vehicles/Figures
    • Paint Dirt and Grass
  • Stage 4
    • Add Scatter Material
    • Paint Scatter material as required

Painting Technique. For 6mm I have been developing a painting style similar in approach to water colour painting.  This uses thin coats of colour on top of white primed bases and models and alternates this with black or dark brown washes using comercial washes. The thin coats of paint are always thin enough to be translucent. Care needs to be taken to not overload the brush.
  • Land Bases I start with a wash of black on grass and brown on the dirt surface, which helps me see. This is then followed by a thin application of the base colour and a follow on black brown wash. Depending on the level of surface texture this is then finished with either dry-brushing or washes of lighter shades of the base colour covering a reducing proportion of the area to be painted leaving the dark edges exposed.  The effect can be enhanced on completion with a final wash around the edge and any raised features on completion.
  • Sea Bases, I start with a pre-shade of black grey applied to selected areas, I then wash with medium blue followed by adding highlights in blue green before another wash of medium blue and a wash of dark grey.  This is repeated until the required effect is achieved, broken water is picked out in white. 
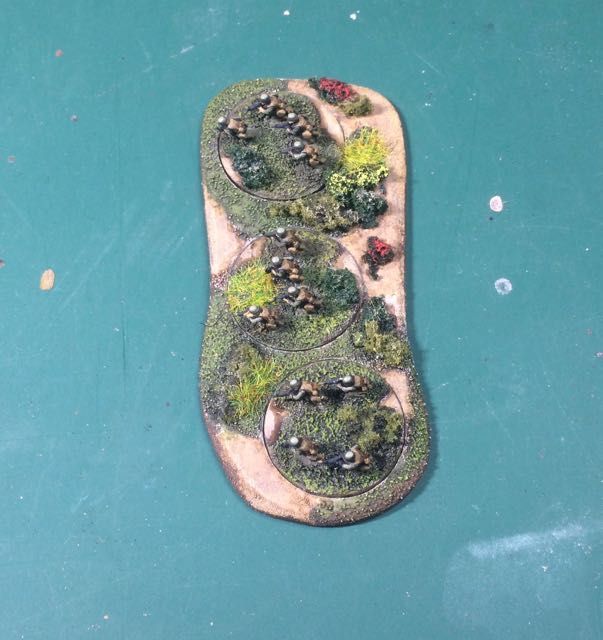


South East Asia Basing Colour Scheme.  For The areas of interest around the Pacific and the South and East China seas I am currently using the following colour schemes for the bases.
  • Land
    • Black Wash- Citadel Nuln Oil
    • Brown Wash - Citadel Agrax Earthshade
    • Grass Base - Vallejo, Model Colour 70893, US Dark Green
    • Grass Highlight one - Vallejo, Model Colour 70967, Olive Green
    • Grass High Light two - Vallejo, Model Colour 70857, Golden Olive
    • Foliage Shadow - Citadel Nuln Oil
    • Dirt Base - Vallejo, Model Colour 70880, Khaki Grey
    • Dirt High light - Vallejo, Model Colour 70976, Buff
  • Sea
    • Water Dark areas- Vallejo, Model Colour 70852, Black Grey
    • Water Light Areas - Vallejo, Model Colour 70808, Blue Green
    • Water Surface Wash - Vallejo, Model Colour 70963, Medium Blue
    • Broken Water - Vallejo, Model Colour 70951 White
If you have any ideas or tips you would like to share please do so in the comments section or on the Coldwargamer facebook page.

Note: I am updating this as I develop the techniques, additional material has been added on aircraft bases and the construction of the infantry movement trays, since the original post was published


Saturday, 22 September 2018

Modelling - Stowing USMC vehicles in 6mm


Vehicles in most armies carry a degree of external stowage and there always seems to be more of it when they are on operations rather than exercises, I suspect because ammunition load outs always take up more space when you are expecting to have to fight. The USMC seem to embrace external stowage to the full and pictures of their vehicles from recent deployments nearly always carry an amount of external load.


Having built one USMC force in 20mm I was used to loading their wagons with all sorts of stowage to match the images seen on the web, in the press and my somewhat vivid imagination.  In the land of 6mm, I was not exactly surprised to find that there were limited product ranges out there for representing external stowage and a lot of the techniques I had used for Cam nets and other items looked like they might be of less use in this scale.


One of the great things about 6mm, of which I am rapidly discovering there are many, is that 1mm represents a foot, so it's relatively easy to work out how big the stuff needs to be to fit on the model even for the mathematically challenged like myself.  The other great thing about 6mm is that very small things can be represented by very simple shapes and still look good, although I am generally of the opinion that you need to keep the objects of a fairly consistent size and shape if they are to be credible. Other than that its largely a question of colouring them in.


What Stowage and How to Make it
The ideas I have had to date are based on what one might consider to be common stowage items and the size they need to be, and how I have currently approached be representing them.

  • Crew - Chopped Figures, prone figures with Binos, turned out to be very good, green stuff hatches added to their backs round them out.


  • Radio Antenna, 2-3m long so 6 - 12mm, I went for tooth brush bristles, which are pretty thin virtually indestructible and don't put holes in your fingers.
  • Boxes - Various shapes and sizes from 10-12 inches for ammo cans through to 3-4 feet for ration cartons and large calibre ammunition crates, I went for plastic strip in a variety of thickness and widths, cut to an appropriate length enabling me to easily create multiple consistent boxes.
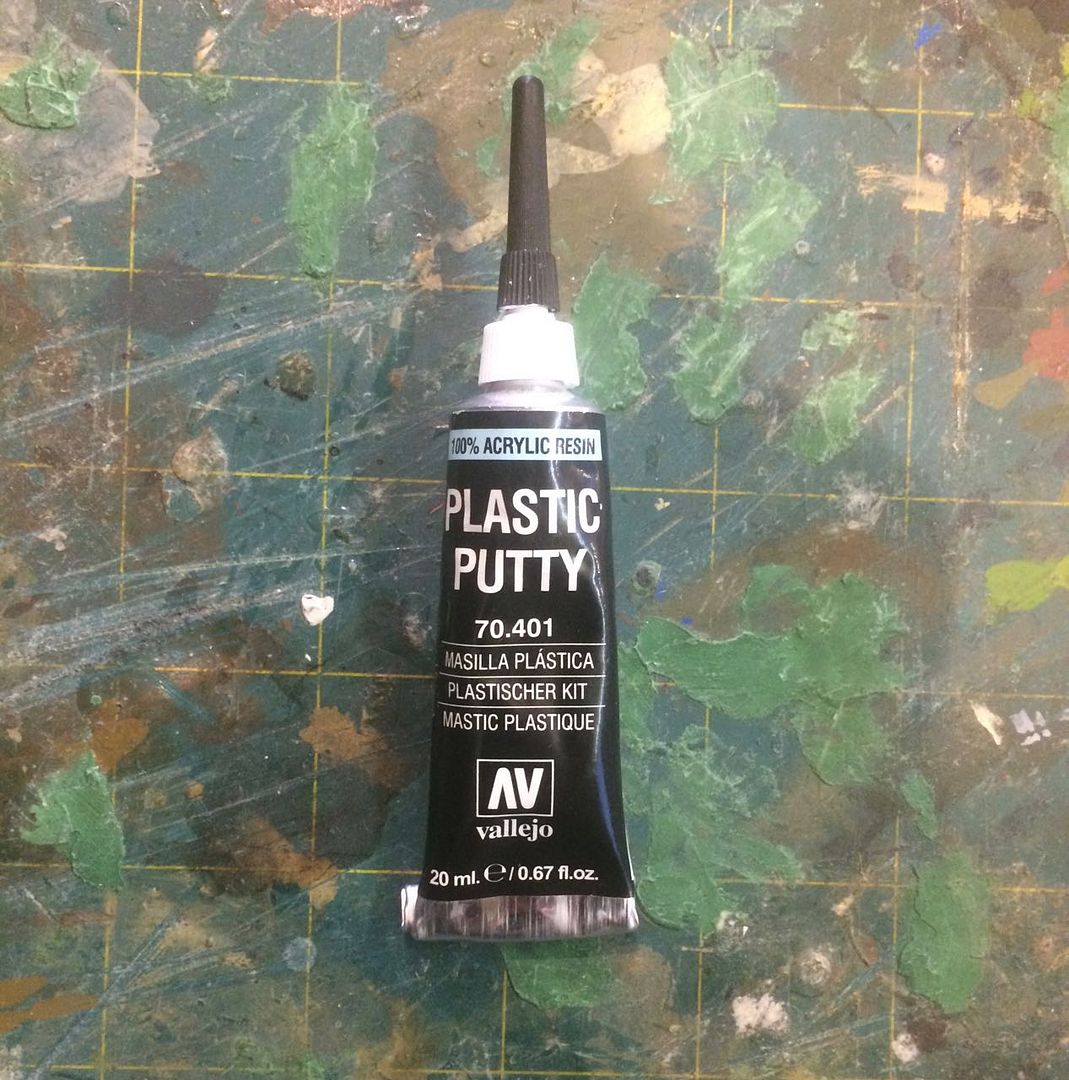
  • Rucksacks, I started with green stuff but in order to get a consistent size and shape switched to plasticard 3mm wide x .25mm thick (ish) which I cut in to 2mm strips then bulked out with Vallejo plastic putty, which is great for all sorts of bits in this scale, if you want something pipe it.

  • Roll Matts, .5mm plastic rod or brass rod cut to 2mm-3mm length, plastic rods better as you get square ends.

  • Grease Cans 1mm - 1.5mm plastic rod cut to 2 - 2.5mm lengths
  • Rubbish Sacks, piped with vallejo plastic putty
  • Sleeping Bags, green stuff or Vallejo plastic putty
  • Tarpaulins, green stuff
  • Cam Nets, green stuff, rolled to the approximate thickness required, then applied to vehicle, trimmed to size, pulled and pushed to make it look like its hanging from ties, then textured using a sharp point and a knife blade, ideally dipped in water to stop the green stuff adhering to the instrument of choice.
  • Air ID Marker Panels, I believe the US ones are modular and can also be folded so anything from a small square to a strip 2mm x 6mm. I use tin foil.

  • Flags - Tin Foil cut to size
  • Crew served and individual weapons - trimmed from figures, yet to really give this a go
  • Wheels - I think Heroics and Ross do some but I have yet to get my hands on any
  • Jerry Cans - I gave up :), any one knows of any let me know.


Where To Stick It

The important thing to bear in mind when stowing any vehicle is that it is a working machine:
  • Bits of it are hot, 
  • Bits of it move, 
  • Hatches, panels and turrets need to be accessible and able to function to allow entry exit and access for maintenance.
  • Air needs to circulate through engine grills to cool engines.  
Most of these places are best avoided and therefore the space on the vehicle to stow things is actually fairly limited.  Having said all that sometimes you have to pack in a hurry so there will always be the odd exception but as a general rule most crews will stow there wagons in a way that does not impair there ability to fight and maintain the vehicle.


Friday, 27 September 2013

Modelling - Converting an S&S Type 63 to Type 89


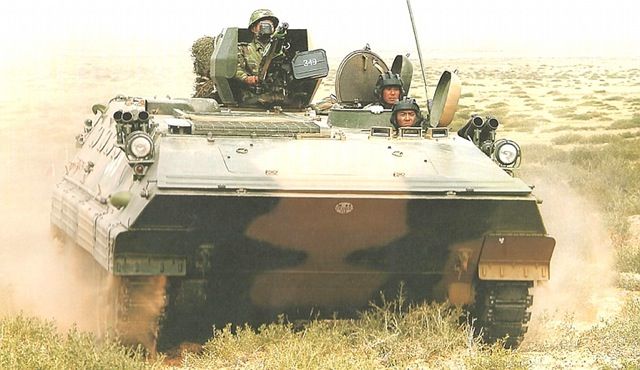
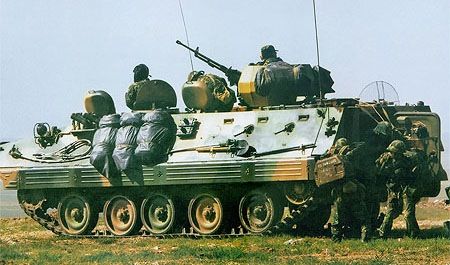
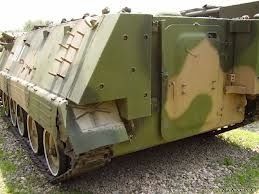
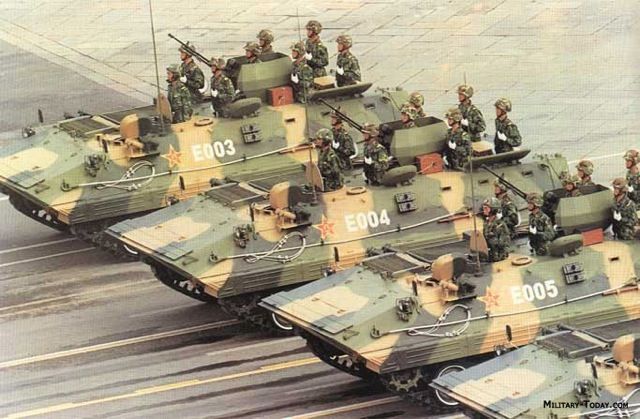
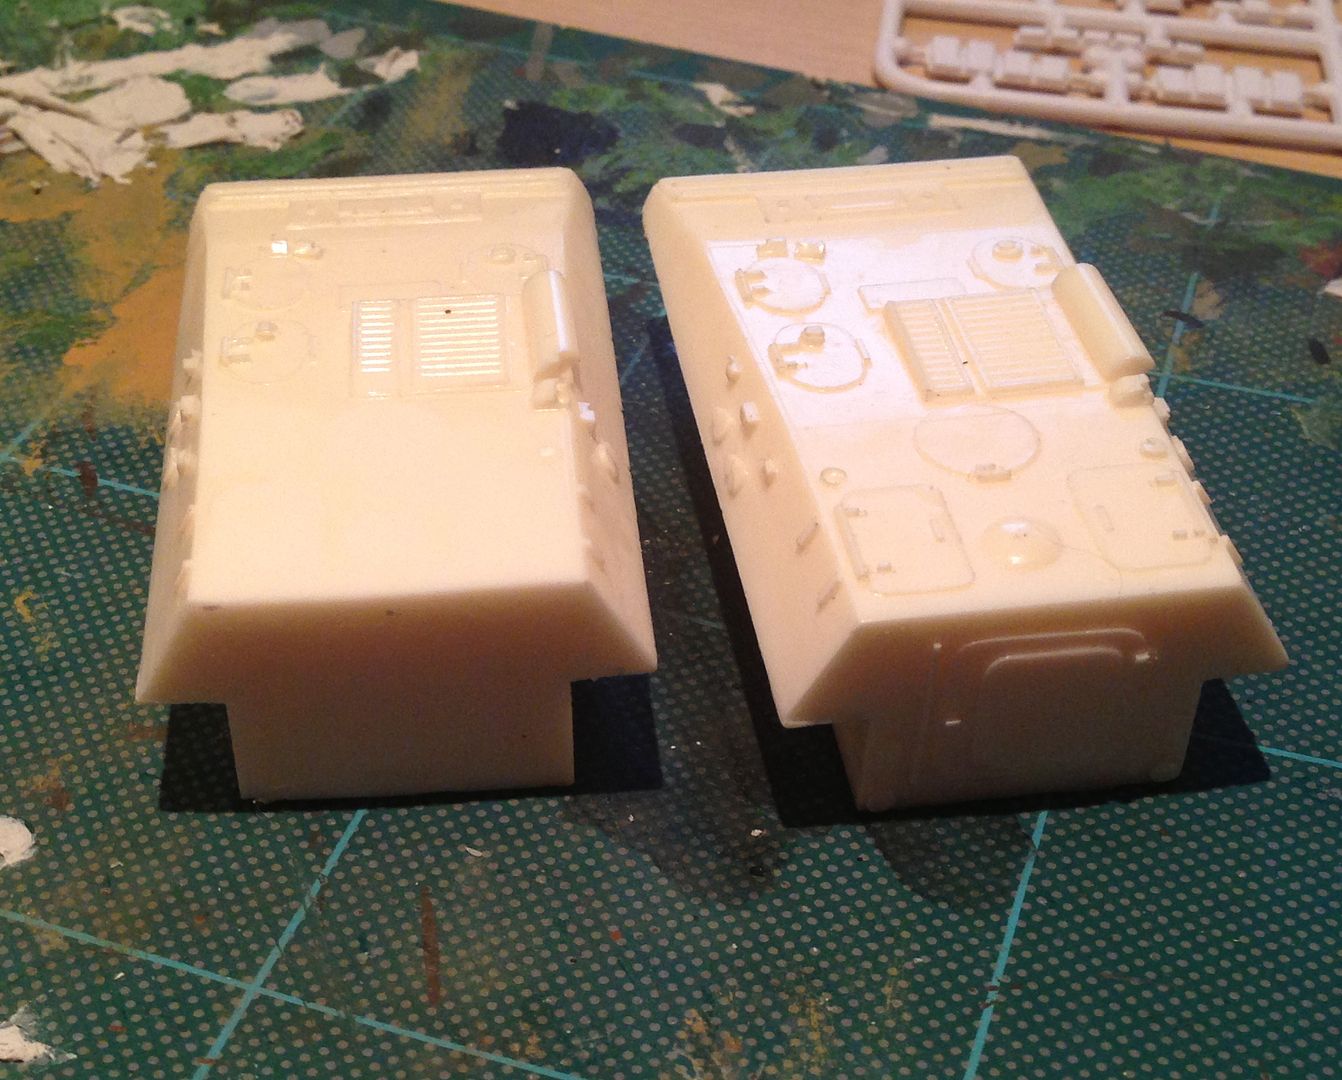
The Type 89 or ZSD 89 entered service in 1990 and is an evolution of the Type 63/85 family. The vehicle is capable of carrying 15 and is armed with a 12.7 mm QJC 88 HMG mounted in an open protected mount. The vehicle is amphibious and provides the basis for a large number of varients covering supporting roles from recovery to observation post vehicles and weapons carriers. In addition the vehicle has been adapted as the basis for a number of Artilery systems. Given its relatively wide deployment and the variety of roles it fills it seemed a worthwhile activity to try and create one through converting the S&S Type 63.


The Type 89 is 3.13m wide 6.125 m long and 2.59m high, whilst the Type 63 is 2.978m wide, 5.476m long and 2.58m high. In 1/72 scale this equates to a difference in width of 2mm and in length of 9mm. Given the difference in length and the overal similarity in shape. I decided to focus the conversion on lengthening the vehicle only.


There are plenty of pictures on the web both of the real vehicle and 1/35 model kits both of which provide good sources of information on what things look like and what goes where. In addition vehicle plans, like these from the Hobby Boss 1/35 scale kit allow you to create effectively a scale drawing from which key measurements can be taken although this is less critical on a conversion and more critical on a complete scratch build.


The S&S Models type 63 APC is the basis of this conversion which of itself is a very attractive model of the most numerous of the Chinese APCs. Other than the length and width differences already discussed the remaining features that would need to be changed include:
  • the arrangement of the engine decks
  • two additional hatches over the extended rear deck.
  • external fuel tanks
  • an extra road wheel.

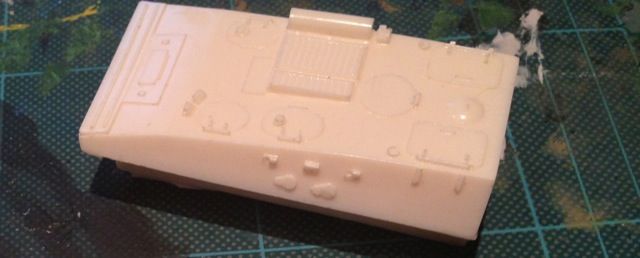
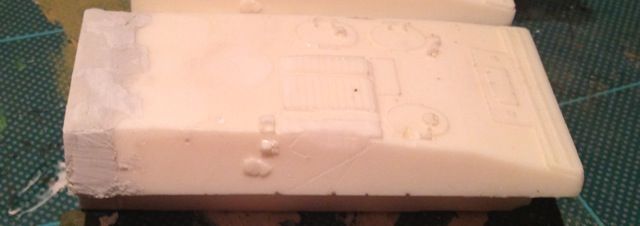
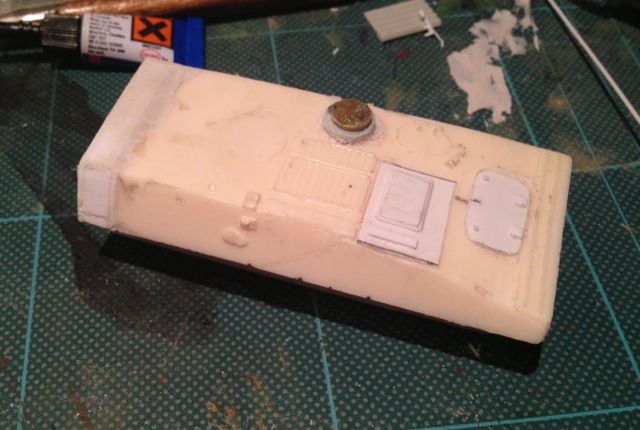
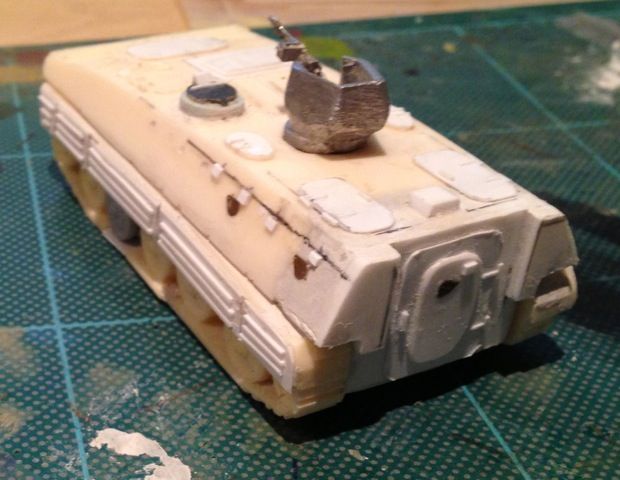
You have two options to extending a vehicle, cut it in half or build on the back, in this case I decided to build on the back. The first job was to remove all the detail no longer required, primarily the rear hatches and back door.


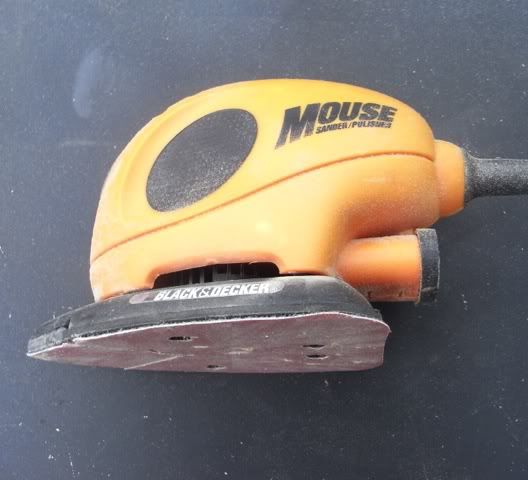
I then built up the extension to the rear using Plasti-card. I am not a great precision cutter so my general approach is to get it broadly right then fill and sand my secret tool in any modelling endeavour is this baby.


With care it can rapidly rectify faults aid in complex shape development and smooth filler rapidly. if your not careful it fills your lungs with dust and wrecks your models so, masks and tidying up are one required activity and another is the taking care when your sanding. The main benifit for me is the speed.


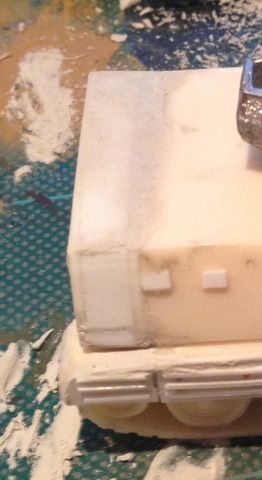
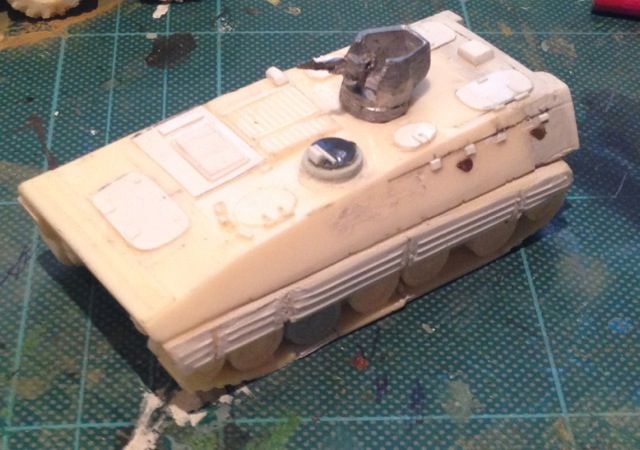
Having sorted the backend, I then built up the engine deck out of card stock before, attacking the roof hatches and seating the turret which comes from another of S&S's kits the ZSL 92A or Wz551 as it appears in their Catelouge. With the forward hatches removed the 25mm Cannon from the ZSL 92 can be used although this varients did not enter service.


I then added the rear door detail, the fuel tanks and hull side detail before attacking the tracks.


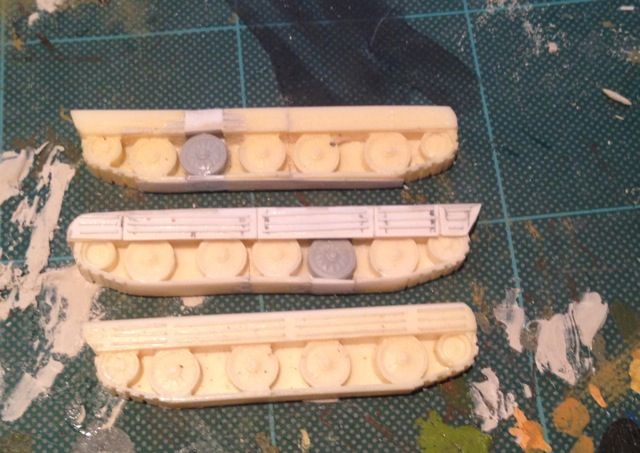
The tracks needed:
  • extending,
  • a new road wheel inserting
  • the road wheel spacing to be representative
  • appropriate side skirts to be built up.
This needed the track cutting in Three places to address the first three items, once cut Plasticard was attached along the track length before the gaps were filled using Plasticard and are friend the filleing and fileing solution, during this stage all surface detail on the existing side skirts was removed.


The side skirts were then built up using Plasticard and filler to create a smooth join with the top of the track guards. The reinforcing ribs were constructed out of plastic rod. I ended up doing this twice having started with 1 mm plastic rod and ended up with .3mm which gave a much better effect


The model is off to Shaun at S&S at the weekend who is going to see if he can modify it for ease of casting then pop a few out to see what they look like. If they are good I will put some thought into creating some of the variants.

References:

Thursday, 25 July 2013

Modelling - Painting US ARMY ACUs in UCP


The US Army's Army Combat Uniform has been In service since 2005, it has largely been fielded in the Universal Camouflage pattern which is scheduled for retirement at the end of 2013. This pattern has been the distinctive if unpopular hall mark of the US army in 21st Century combat to date. The early years of the twenty first Century have been characterised by rapid change in equipment, weapon acutriments and helmets for the infantry soldiers of a large number of nations. This has been particularly acute amongst those NATO nations who have had troops deployed continuously on Military operations in Iraq and Afghanistan since the start of the millennium.


Representing camouflage patterns on 20mm figures is always an interesting activity as an accurate representation of the pattern on something so small is not necessarily what works. The pattern being represented here blends Tan, Grey and Green in a digital pattern but has been represented on the figure with just two tones of green and this works well in conveying the impression of the pattern when viewed from a distance. The Pattern is applied over both the figures uniform and webbing equipment. I first came across this technique as a tutorial published by Cyril on the Guild forum a few years ago,
it has a number of fairly simple steps


All the Figures shown in this post are from Liberation Miniatures
  • Black undercoat
  • Paint whole figure Vallejo Grey Green 886
  • Paint flesh tones Vallejo Sunny Skin Tone 845, Wash with dilute solution Vallejo Mahogony Sand 846, Highlight Vallejo Light Flesh 928, 
  • Dot on Pattern in Vallejo Buff 976,
  • Boots, Vallejo Desert Sand 977
  • Paint Weapons Vallejo Black Grey 862
  • Wash all over with GW Badab Black, less Flesh
  • Highlight with Vallejo Grey Green 886, this creates a light and darker green contrast, which covers the Grey and Green elements of the Cam, so unlike Cyril I have not dot patterned a darker green.
  • Highlight with Vallejo Black Grey 862 - Weapons
  • Highlight with Desert Sand 977 - boots