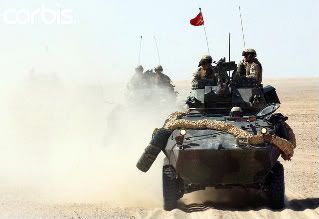
This post reviews the GHQ M1 and LAV 25, covering the general quality of the model, build issues, painting, stowage, markings and basing. Given the small size and the lack of kit building I thought I would do model reviews and builds either in groups or with conversion projects. This is the first group, I am building and painting these for inclusion into an ultra modern USMC force for games set in the present and near future focused on the Pacific Theatre.
The vehicles were ordered from Magister Millenium in the UK and were well packaged and arrived promptly. The M1 and LAV 25 provide the mainstay of the mechanised/armoured elements of the Ground Combat Component of the Marine Expeditionary unit (MEU), which is the first of the US expeditionary warfare units I am building in 6mm.
The vehicles were ordered from Magister Millenium in the UK and were well packaged and arrived promptly. The M1 and LAV 25 provide the mainstay of the mechanised/armoured elements of the Ground Combat Component of the Marine Expeditionary unit (MEU), which is the first of the US expeditionary warfare units I am building in 6mm.
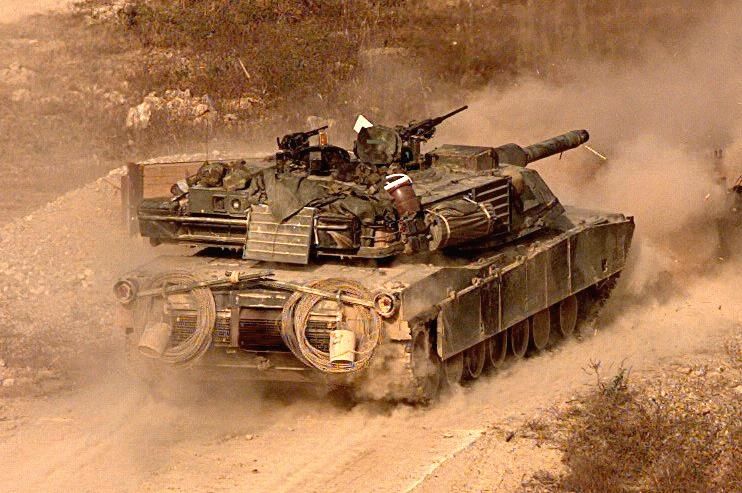
Vehicle Overviews
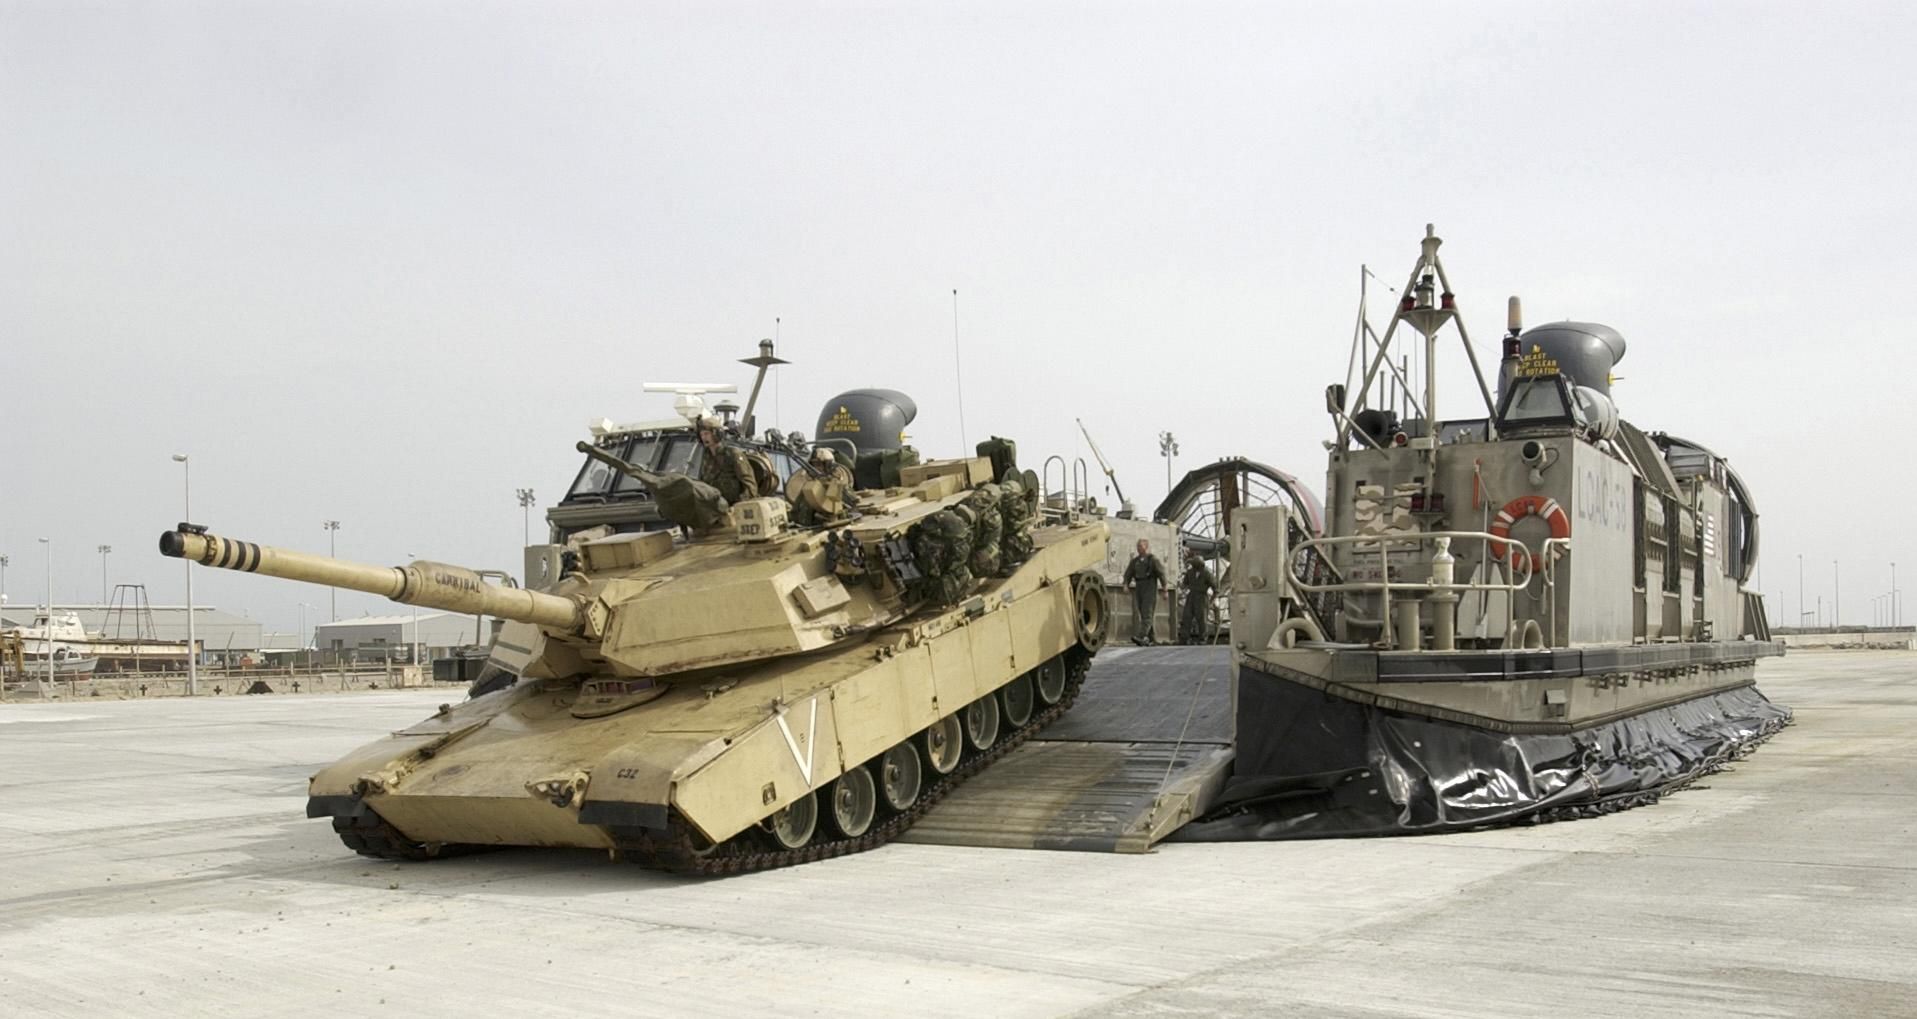
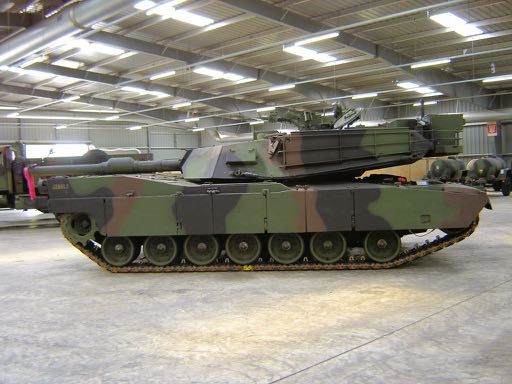
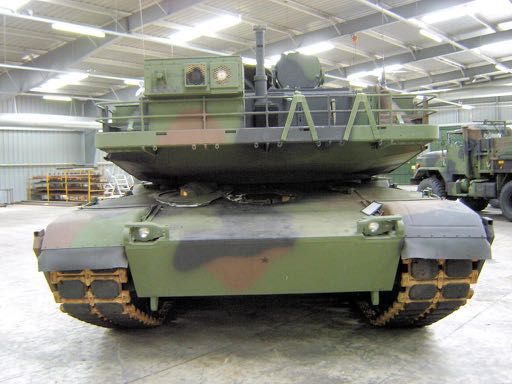
M1 The M1 entered Service in 1980 as a replacement for the US Army's M60A3, the M60 however soldiered on for some time with both the reserve forces and the USMC. The USMC retiring their M60A1s after Gulf War 1 in 1991 and the US Army reserve letting theirs go in 1997. The M1 was upgraded to the M1A1 with the 105mm gun being replaced by a 120mm gun in 1986. Whilst the US Army is now running with the M1A2C moving to the M1A2D the Marines still have the M1A1. The Marine M1A1 has a number of differences from the Army vehicles to make it fit for operations near the sea. These include different Smoke Grenade Discharger Units and a deep wading kit - handy for getting off landing craft.
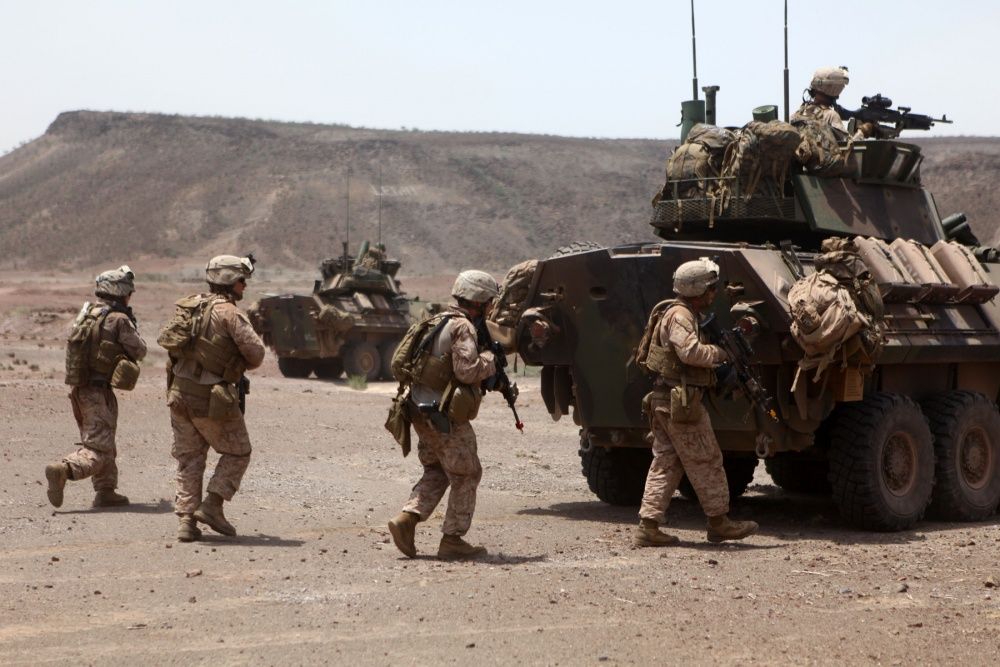
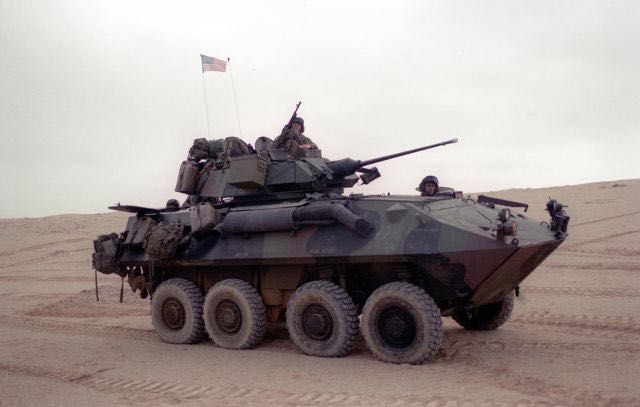
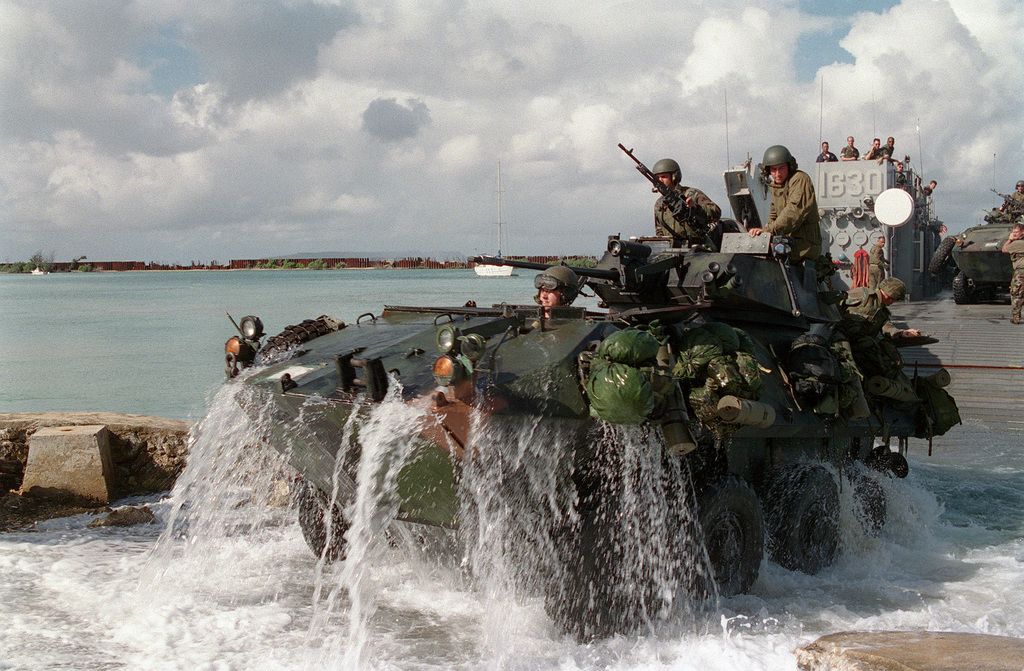
LAV 25 The LAV 25 serves with the Light Armoured Reconnaissance Battalions of the USMC, the vehicle entered service with the Marines in 1983. The LAV 25 A2 currently in service introduced a number of protection enhancements along with TI systems. Whilst the Marines have plans to introduce further upgrades through the LAV 25 A3 they have also just started looking for a replacement vehicle. As well as the base variant a variety of other versions of the vehicle are also in service with the Marines including: Command, Recovery, Logistic, Anti Tank, Mortar and EW.
Models
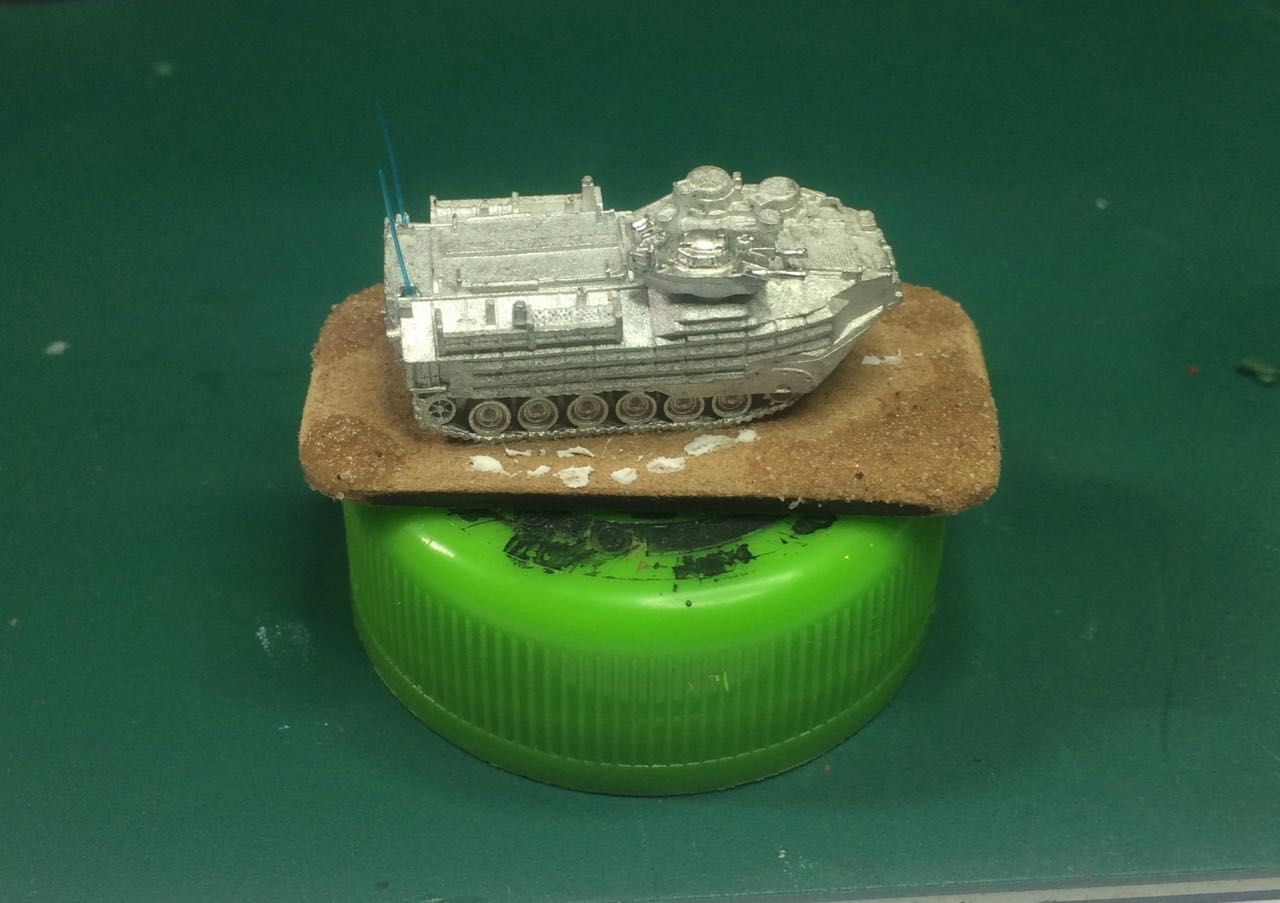
As you might expect from GHQ the vehicles are all precision moulded in white metal, cleanly cast and packed with fine detail. Without exception all the vehicles purchased were excellent castings all with separate turrets and moulded barrels.
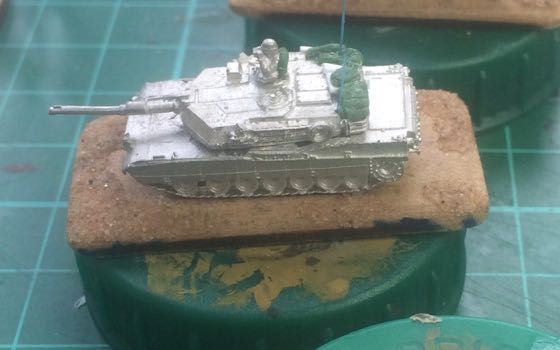
The M1s are supplied with two turret mounted MGs each which because of the fine nature of the casting and small size struggle to survive contact with the postal system despite the extensive packaging and looked challenging to straighten out and then fit. The models themselves required minimal cleaning and little attention to barrel straightening. Close inspection for small amounts of flash is worthwhile as is identification of the mold injection points which nearly always carry small strings of metal from the casting process and are really annoying to discover during painting.
The M1s are supplied with two turret mounted MGs each which because of the fine nature of the casting and small size struggle to survive contact with the postal system despite the extensive packaging and looked challenging to straighten out and then fit. The models themselves required minimal cleaning and little attention to barrel straightening. Close inspection for small amounts of flash is worthwhile as is identification of the mold injection points which nearly always carry small strings of metal from the casting process and are really annoying to discover during painting.
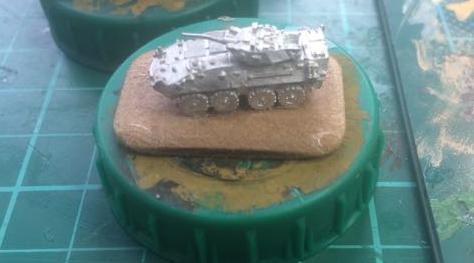
In all cases I have glued the turrets in place keeping the barrels within the footprint of the hull and or hull and base depending on length, in order to reduce the risk of barrel bend during use. The Vehicles have then been mounted on MDF bases with the edges beveled to reduce their height as described in the post on my baseing philosophy.
Stowage and Markings
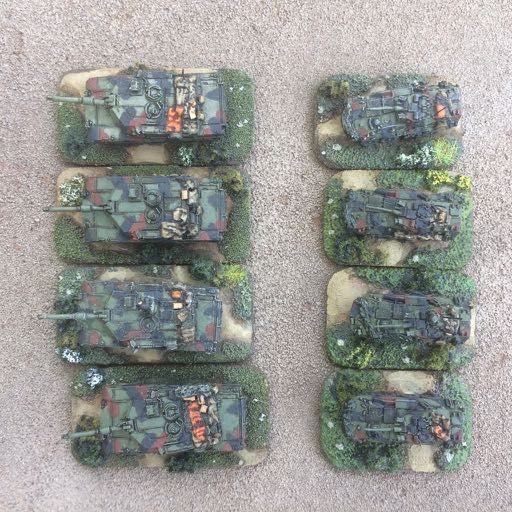
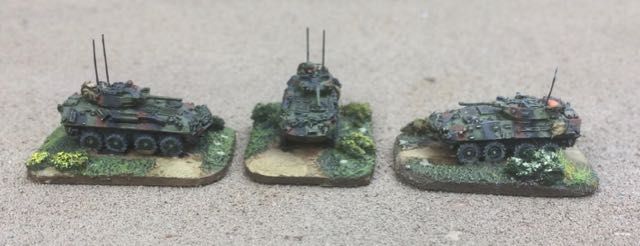
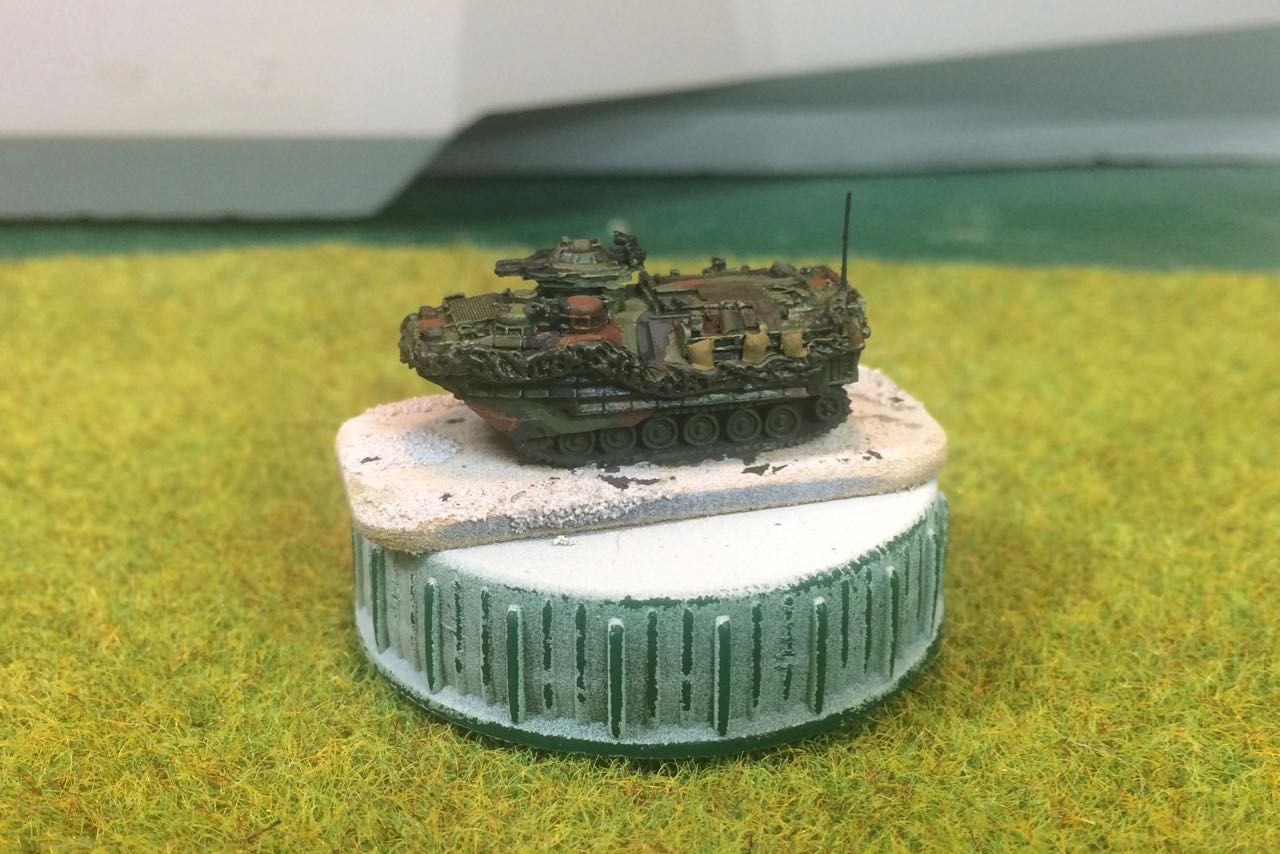
Siowage has always been part of what I love about the USMC and in fact the US Army, they have a remarkable affinity for strapping stuff all over the outside of their wagons. Offering the opportunity to create some quite unique models for the gaming table
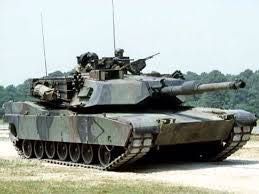
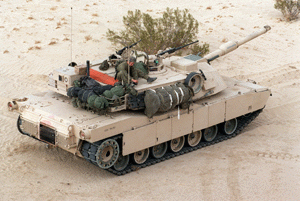
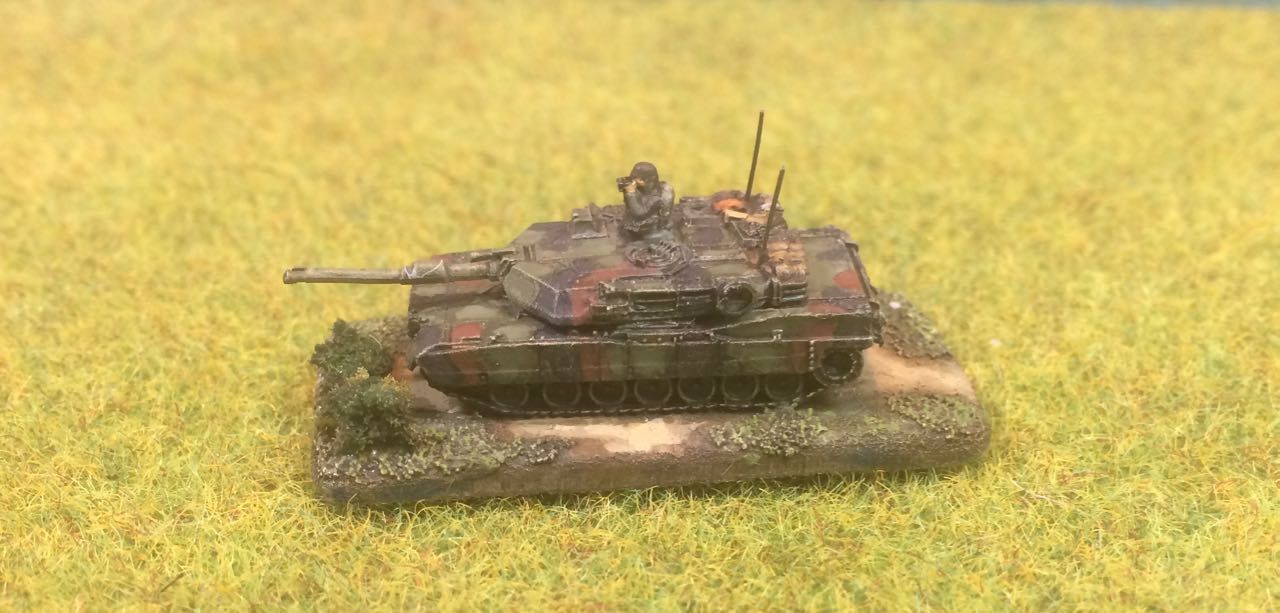
As can be seen from the M1A1 pictures in the post this can cover a wide variety of equipment ranging from personal equipment to spare road wheels, shelters, defence stores lubricants and the ubiquitous air marker panels which can manifest in a number of different sizes and shapes
As a matter of course Marine vehicles do not seem to carry any tactical markings in the form of Identifying numbers or Symbols. A variety were apparent in the Gulf Wars other than chevrons most of the images I have seen these looked like they had been locally applied to no apparent regulation. I have therefore not applied any to my vehicles.
Painting
I have altered my painting style to accommodate the challenges of 6mm. It all Kicks off undercoating the model in white a change after many years undercoating 20mm in black. In this small scale the model and colours all benefit significantly from a white undercoat. I don't tend to dry brush on the vehicle at the end of the process as I find the effect on top of camouflaged vehicles makes the model look very busy in this scale. All Paints used unless otherwise stated are Vallejo Model Colour
Base Vehicle and Camouflage
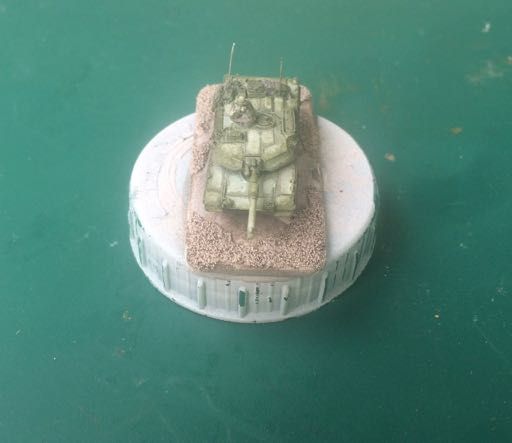
Keeping the base colour light enables the model detail to stand out, although I have discovered a number of challenges with this method.
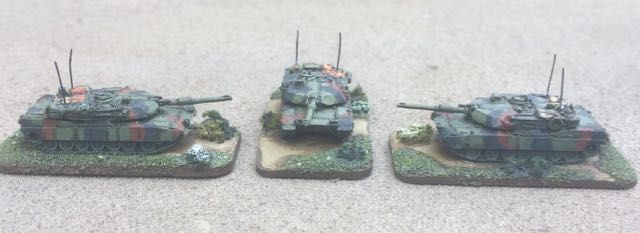
Once the base colour is sorted I then work on the camouflage pattern. For any particular vehicle I try to keep this consistent which saves thinking too much about the pattern for all the other vehicles of the same type that you are going to paint and is generally in line with what military organisations do with one or two exceptions. Researching the pattern can be a challenge particularly for shots of the top of the vehicle, larger scale models and their painting plans can be useful here.
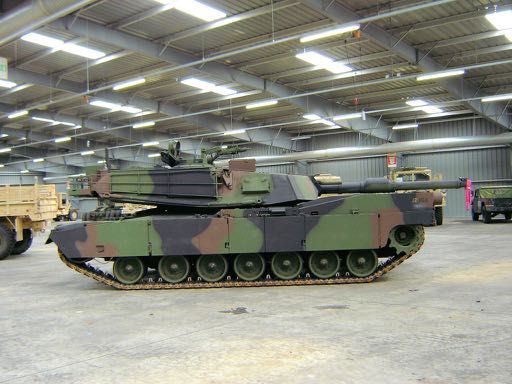
The Camouflage pattern is then applied in line with the reference imagery using a thicker consistency than the base coat in order to gain a level of coverage. I then generally pin wash before proceeding with undercoating and painting the stowage items and the vehicle detail. The Pin wash is applied direct to the areas of detail rather than all over the vehicle, this can be quite effective if brown is used rather than black.
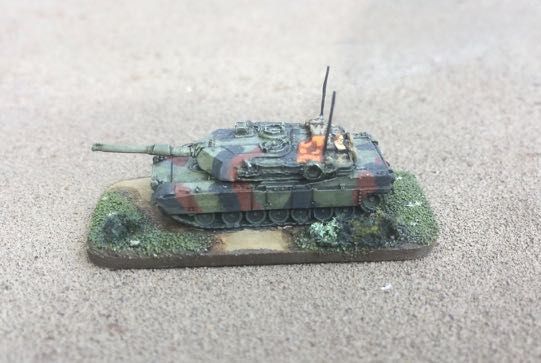
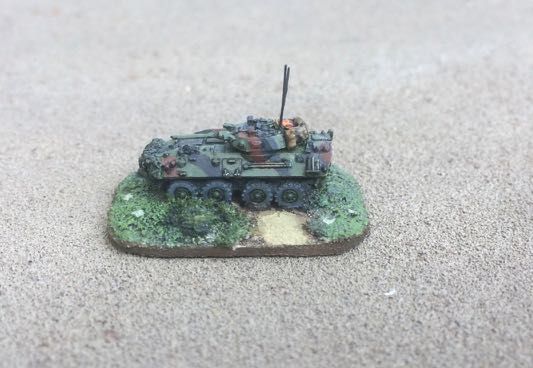
Weapons and Tracks are simply painted Black Grey and Tyers are painted black grey and then the tyre walls are painted in a lighter grey using a mix of sky grey and black grey, wheels are usually finished off with a Wash of Agryx Earth Shade. Finally I pick out the light clusters in light grey overpainting with Orange and Crimson where appropriate.
And their you have it. Not the quickest way to get the vehicles on the table but they look quite good when they get their, the quality of the GHQ models is excellent and I think worth the money.
Related Posts:
Modelling - A Baseing Philosophy for 6mm Figures and Vehicles
Modelling - Stowing USMC Vehicles in 6mm
References:
FAS.org M1 Abrams Main Battle Tank
FAS.org LAV and Variants
Stowage and Markings
Siowage has always been part of what I love about the USMC and in fact the US Army, they have a remarkable affinity for strapping stuff all over the outside of their wagons. Offering the opportunity to create some quite unique models for the gaming table
As can be seen from the M1A1 pictures in the post this can cover a wide variety of equipment ranging from personal equipment to spare road wheels, shelters, defence stores lubricants and the ubiquitous air marker panels which can manifest in a number of different sizes and shapes
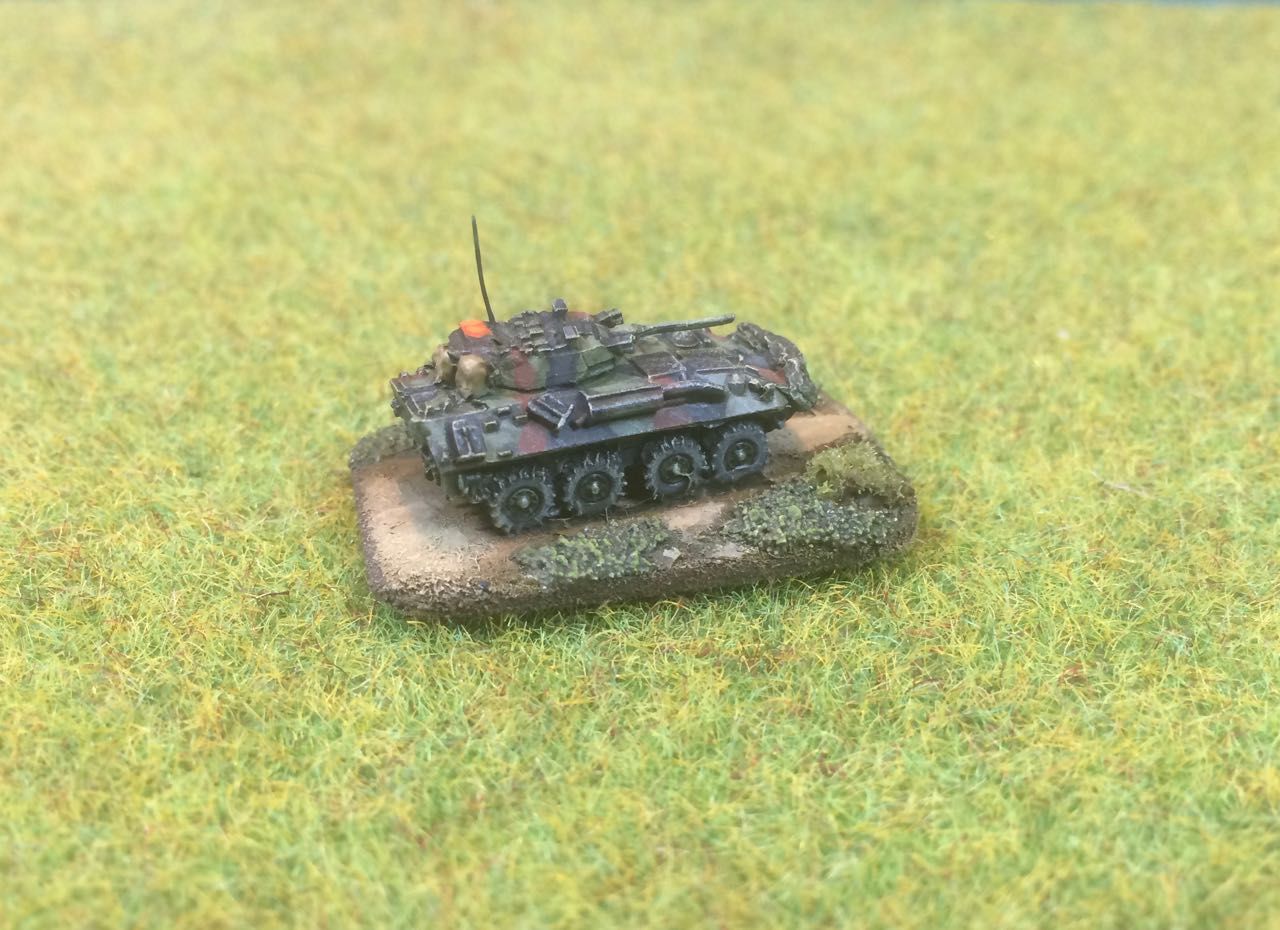
I always think the LAV 25 Crews take the whole stowage thing to a new level, primarily I suspect because of their size and the fact that they carry dismounts in addition to the vehicle crew. Again a review of a range of images of vehicles on exercises and operations will give you an idea of what might be carried and where it is stowed. To the general list of external stowage can be added spare wheels cam nets and fuel cans which these vehicles always seem to be littered with.
Availability of stowage in this scale is a bit of a challenge although a number of companies offer scale accessories including Heroics and Ross and Perfect Six. If you want to have a bash at making them yourself my post on Modelling - Stowing USMC Vehicles in 6mm provides a range of approaches to simply representing a wide range stowage items.
As a matter of course Marine vehicles do not seem to carry any tactical markings in the form of Identifying numbers or Symbols. A variety were apparent in the Gulf Wars other than chevrons most of the images I have seen these looked like they had been locally applied to no apparent regulation. I have therefore not applied any to my vehicles.
NATO/Israeli chevrons in white and black can be obtained from a number of sources. Magistere Milenium stock them in Black however the lack of contrast between the chevrons and the vehicle colour dissuade me from applying any.
Painting
I have altered my painting style to accommodate the challenges of 6mm. It all Kicks off undercoating the model in white a change after many years undercoating 20mm in black. In this small scale the model and colours all benefit significantly from a white undercoat. I don't tend to dry brush on the vehicle at the end of the process as I find the effect on top of camouflaged vehicles makes the model look very busy in this scale. All Paints used unless otherwise stated are Vallejo Model Colour
Base Vehicle and Camouflage
- 70890 Reflective Green base colour
- 70846 Mahogany Sand
- 70860 Black Grey
- Citadel Nuln Oil Black Wash
- Ensuring good coverage of the model to block out the white undercoat needs to be worked at. if I am not looking at the model through a magnifying lens this won't be achieved
- Applying dilute coats of paint can cause the paint to separate and results in some unusual colours. To avoid this mix the paint immediately before applying and don't let the paint pool on the model, which basically comes down to controlling the amount of paint on the brush.
The Camouflage pattern is then applied in line with the reference imagery using a thicker consistency than the base coat in order to gain a level of coverage. I then generally pin wash before proceeding with undercoating and painting the stowage items and the vehicle detail. The Pin wash is applied direct to the areas of detail rather than all over the vehicle, this can be quite effective if brown is used rather than black.
Stowage Colours
- 70887 Olive Drab undercoat for brown items
- 70880 Khaki Grey Packs, highlights + 70976 Buff
- 70988 Khaki, Tarpaulins, highlights + 70976 Buff
- 70976 Buff, Ration Boxes
- Dark Green undercoat for green items
- 70890 Reflective green, Ammo Boxes, highlights + 70976 Buff
- 70909 Vermillion for Marker Panels, Highlight 70911 Light Orange
I generally try to limit the number of colours I am working with which saves time and prevents the model becoming too Chaotic. I undercoat most of the stowage in Olive Drab. This is then overpainted in the relevant colours allowing the undercoat to show through between items or to provide an illustration of folds or the boundary between the top of a pack and the body of a pack. Items are then highlighted with the addition of Buff to the body colour so for Packs Khaki Grey and Tarpaulins Khaki. Generally I am looking for high contrast between the vehicle and the stowage item. Air Marker Panels are painted with dabs of crimsen followed by dabs of orange allowing the olive drab and crimson to show through to mark folds.
Vehicle Detail
- 70860 Black Grey Tracks, Tyres, Weapons and Antena
- 70860 Black Grey + 70989 Sky Grey Tyre Walls
- Citadel Agryx Earthshade, wheel wash
- 70989 Sky Grey Head Lights,
- 70911 Light Orange Indicators
- 70909 Vermillion Brake Lights
Weapons and Tracks are simply painted Black Grey and Tyers are painted black grey and then the tyre walls are painted in a lighter grey using a mix of sky grey and black grey, wheels are usually finished off with a Wash of Agryx Earth Shade. Finally I pick out the light clusters in light grey overpainting with Orange and Crimson where appropriate.
And their you have it. Not the quickest way to get the vehicles on the table but they look quite good when they get their, the quality of the GHQ models is excellent and I think worth the money.
Related Posts:
Modelling - A Baseing Philosophy for 6mm Figures and Vehicles
Modelling - Stowing USMC Vehicles in 6mm
References:
FAS.org M1 Abrams Main Battle Tank
FAS.org LAV and Variants






 Posted with Blogsy